Looking after the exterior of your house is just as important as keeping the inside in top condition. Although gutter repair and cleaning might not be the most glamorous of property maintenance jobs, knowing how to clean your gutters is essential for the upkeep of your guttering system. You only really need to clean your gutters twice a year – preferably in spring and autumn – and learning how to do so safely and efficiently will make the job easier (and cheaper) for you.
Before you get going with any gutter repairs and cleaning, let’s get started with what you’ll need…
Materials:
- Protective gloves
- Small trowel
- Bucket
- Ladder bucket hook
- Garden bags
Tools:
Before you start
Whether you’re a DIY novice or pro, ensure you read our DIY Safety Tips to keep yourself and others safe before starting any type of gutter repair or upkeep around the house. Always make sure your ladder is completely stable and positioned on a flat surface before use. Any gutter repair or cleaning is best done on a fair weather day. Damp conditions make for slippery surfaces, not to mention the fact that nobody enjoys being up a ladder in the rain!
Step 1. Set up a secure workspace
First, set up a stable working area alongside your property. Pick an end of the gutter to start from and ensure your ladder is firmly planted on flat, solid ground. Do not place it on a grassy area or a slope. Leaning over your gutter can be unstable, so make sure your ladder is high enough or use a ladder stay/ladder standoff.
Wear sensible shoes and avoid working alone if possible – having someone else hold the base of the ladder can help to keep it even steadier. Secure your bucket with a ladder bucket hook, and you’re ready to go.
Top tip: If you can get access to a tower scaffold or work platform, this will allow even easier access and safe movement.
Step 2. Remove debris
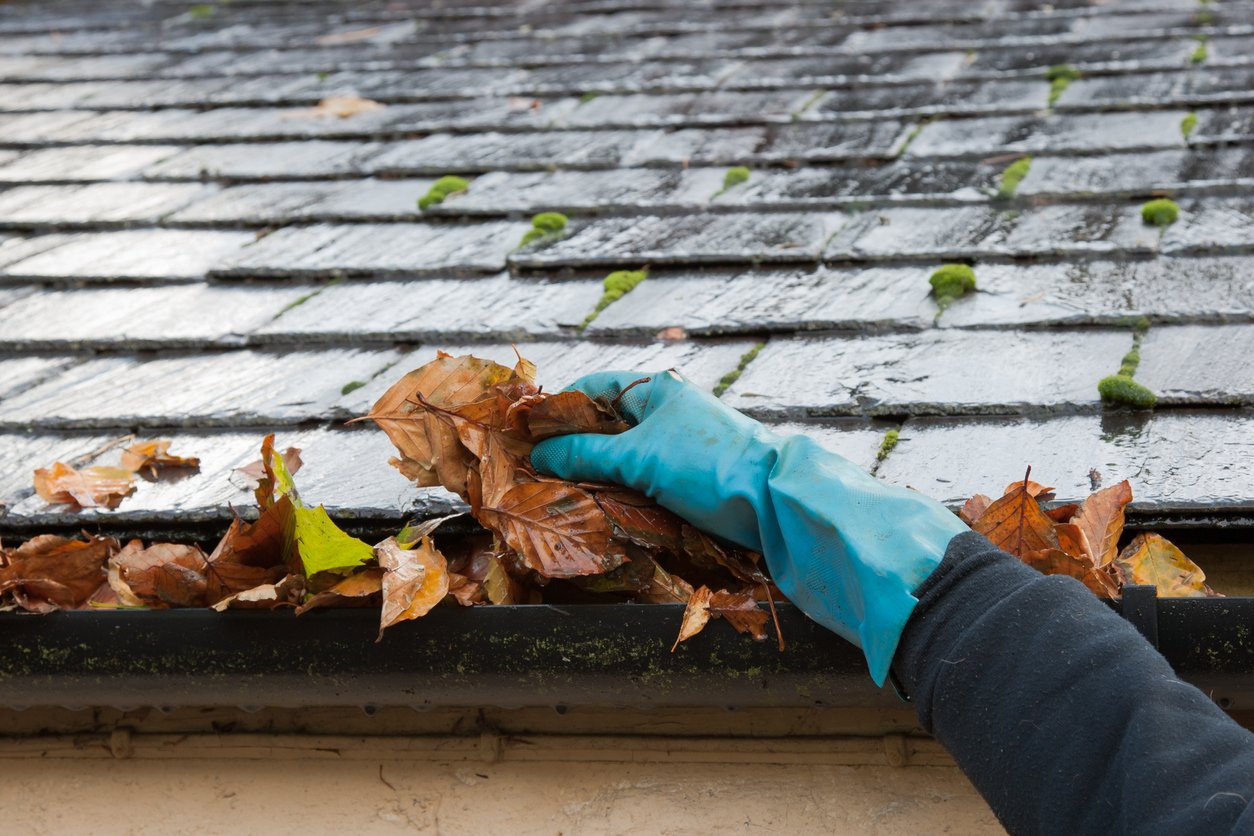
Whether your guttering is uPVC or made from a more traditional material type, the technique remains the same. To start with, put on protective gloves, climb your ladder and make sure that you are not overreaching. If you are not in a comfortable position, come down and re-position – do not compromise your safety to save time. You’ll need to work in sections along your gutter, but the first step in gutter cleaning is to grab your rake or brush and gather up any leaves, twigs and debris from your roof and dispose of them. Then, either using your hands or a small trowel, scoop out the debris from the first section of the gutter and put it into the bucket. Continue this same method for each section along your gutter, coming down and moving the ladder each time.
Top tip: Use a light hand with the trowel, as you don’t want to damage your guttering system.
Step 3. Flush it out
Position yourself at the opposite end of the gutter from the drainpipe. Using a hose (or bucket if yours doesn’t reach), flush water through the gutter to remove any remaining debris you missed towards the drainnpipe. You may have to do this a few times if there is some stubborn debris left over.
Then, let the water keep flowing for a minute or so to check it is running properly down the spout. This will help determine whether your drainpipe has a blockage problem or any identifiable leaks. If you have someone with you, get them to stand at the bottom of the downpipe and listen for the water pressure – if it is strong, then it’s unlikely to be blocked, but if the water flow is only a trickle, then there is a blockage to clear as part of your gutter upkeep. Weak water pressure can also be a sign of leak problem somewhere along the system. Leaking usually occurs when two sections of guttering become disconnected and is easily fixed. Ask a willing volunteer to look out for and drips while you flush through the guttering, as these are an indicator of a leak.
Top tip: A pressure washer is a handy tool, not only to clean your guttering but also conservatory roofs. However, be mindful if your guttering has any cracks, as a pressure washer’s power could cause more damage.
Step 4. Check for drainpipe blockages
Ensuring that your drainpipe (also called a downpipe) is clear is vital, as it’s how the water travels from your gutters to your underground drainage. Use a screwdriver (or similar) to tap down your drainpipe – if there are no blockages you should hear a hollow sound, if there’s a dull thud then you’ve found it. If your blockage is higher up, then you’ll need to disconnect your entire drainpipe to remove it. However, if it is lower down, you might only need to remove a few sections to clear it out.
Unscrew the downpipe clips and brackets from the wall and dismantle as much of it as is needed. Work from the ground up, one section at a time – do not attempt to remove it all at once or the downpipe could fall on you.
Once you have the blocked section dismantled, dislodge the blockage and then you can put the drainpipe back together.
Step 5. Inspect for guttering repairs
It’s also a good idea whilst gutter cleaning to carry out some upkeep and check for any gutter repairs that might be required. Keep an eye out for cracks or poorly sealed joints, as over time expansion and contraction can cause the gutting joints to come apart. Replace any sections of your gutter that are damaged or make temporary repairs. Do the same for your downpipe.
Step 6. Prevention & maintenance
It’s also a good idea to consider installing some damage prevention products to help prevent a build-up of debris where possible. Keeping your gutter in good condition will also reduce the likelihood of having to carry out a more costly gutter replacement. Foam gutter filters and gutter guards will both help to prevent your gutter filling up with debris. Although helpful, no product will prevent the build-up of debris altogether, so you’ll still need to keep up with your gutter cleaning maintenance.
By carrying out gutter upkeep a couple of times a year, you reduce the likelihood of having to get your guttering replaced. However, if you find you’re constantly dealing with leaks and having to make new gutter repairs, it could be time for a replacement. If you are looking to replace guttering, particularly if you’re living in a period house with old metal guttering, then uPVC is the most durable and long-lasting option.
And that’s how to clean and repair your gutters! If you’ve been inspired to continue with home improvements, check out our other DIY ideas on our Ideas & Advice hub.

