

Take your Halloween decorations to the next level by carving your very own unique pumpkin! It’s a fun and easy project to get stuck into with the kids and will make your Halloween decorations the talk of the street.
Before you start
Read our DIY Safety Tips guide and tools’ instruction manuals to keep everyone safe, and ensure there is always parental supervision.
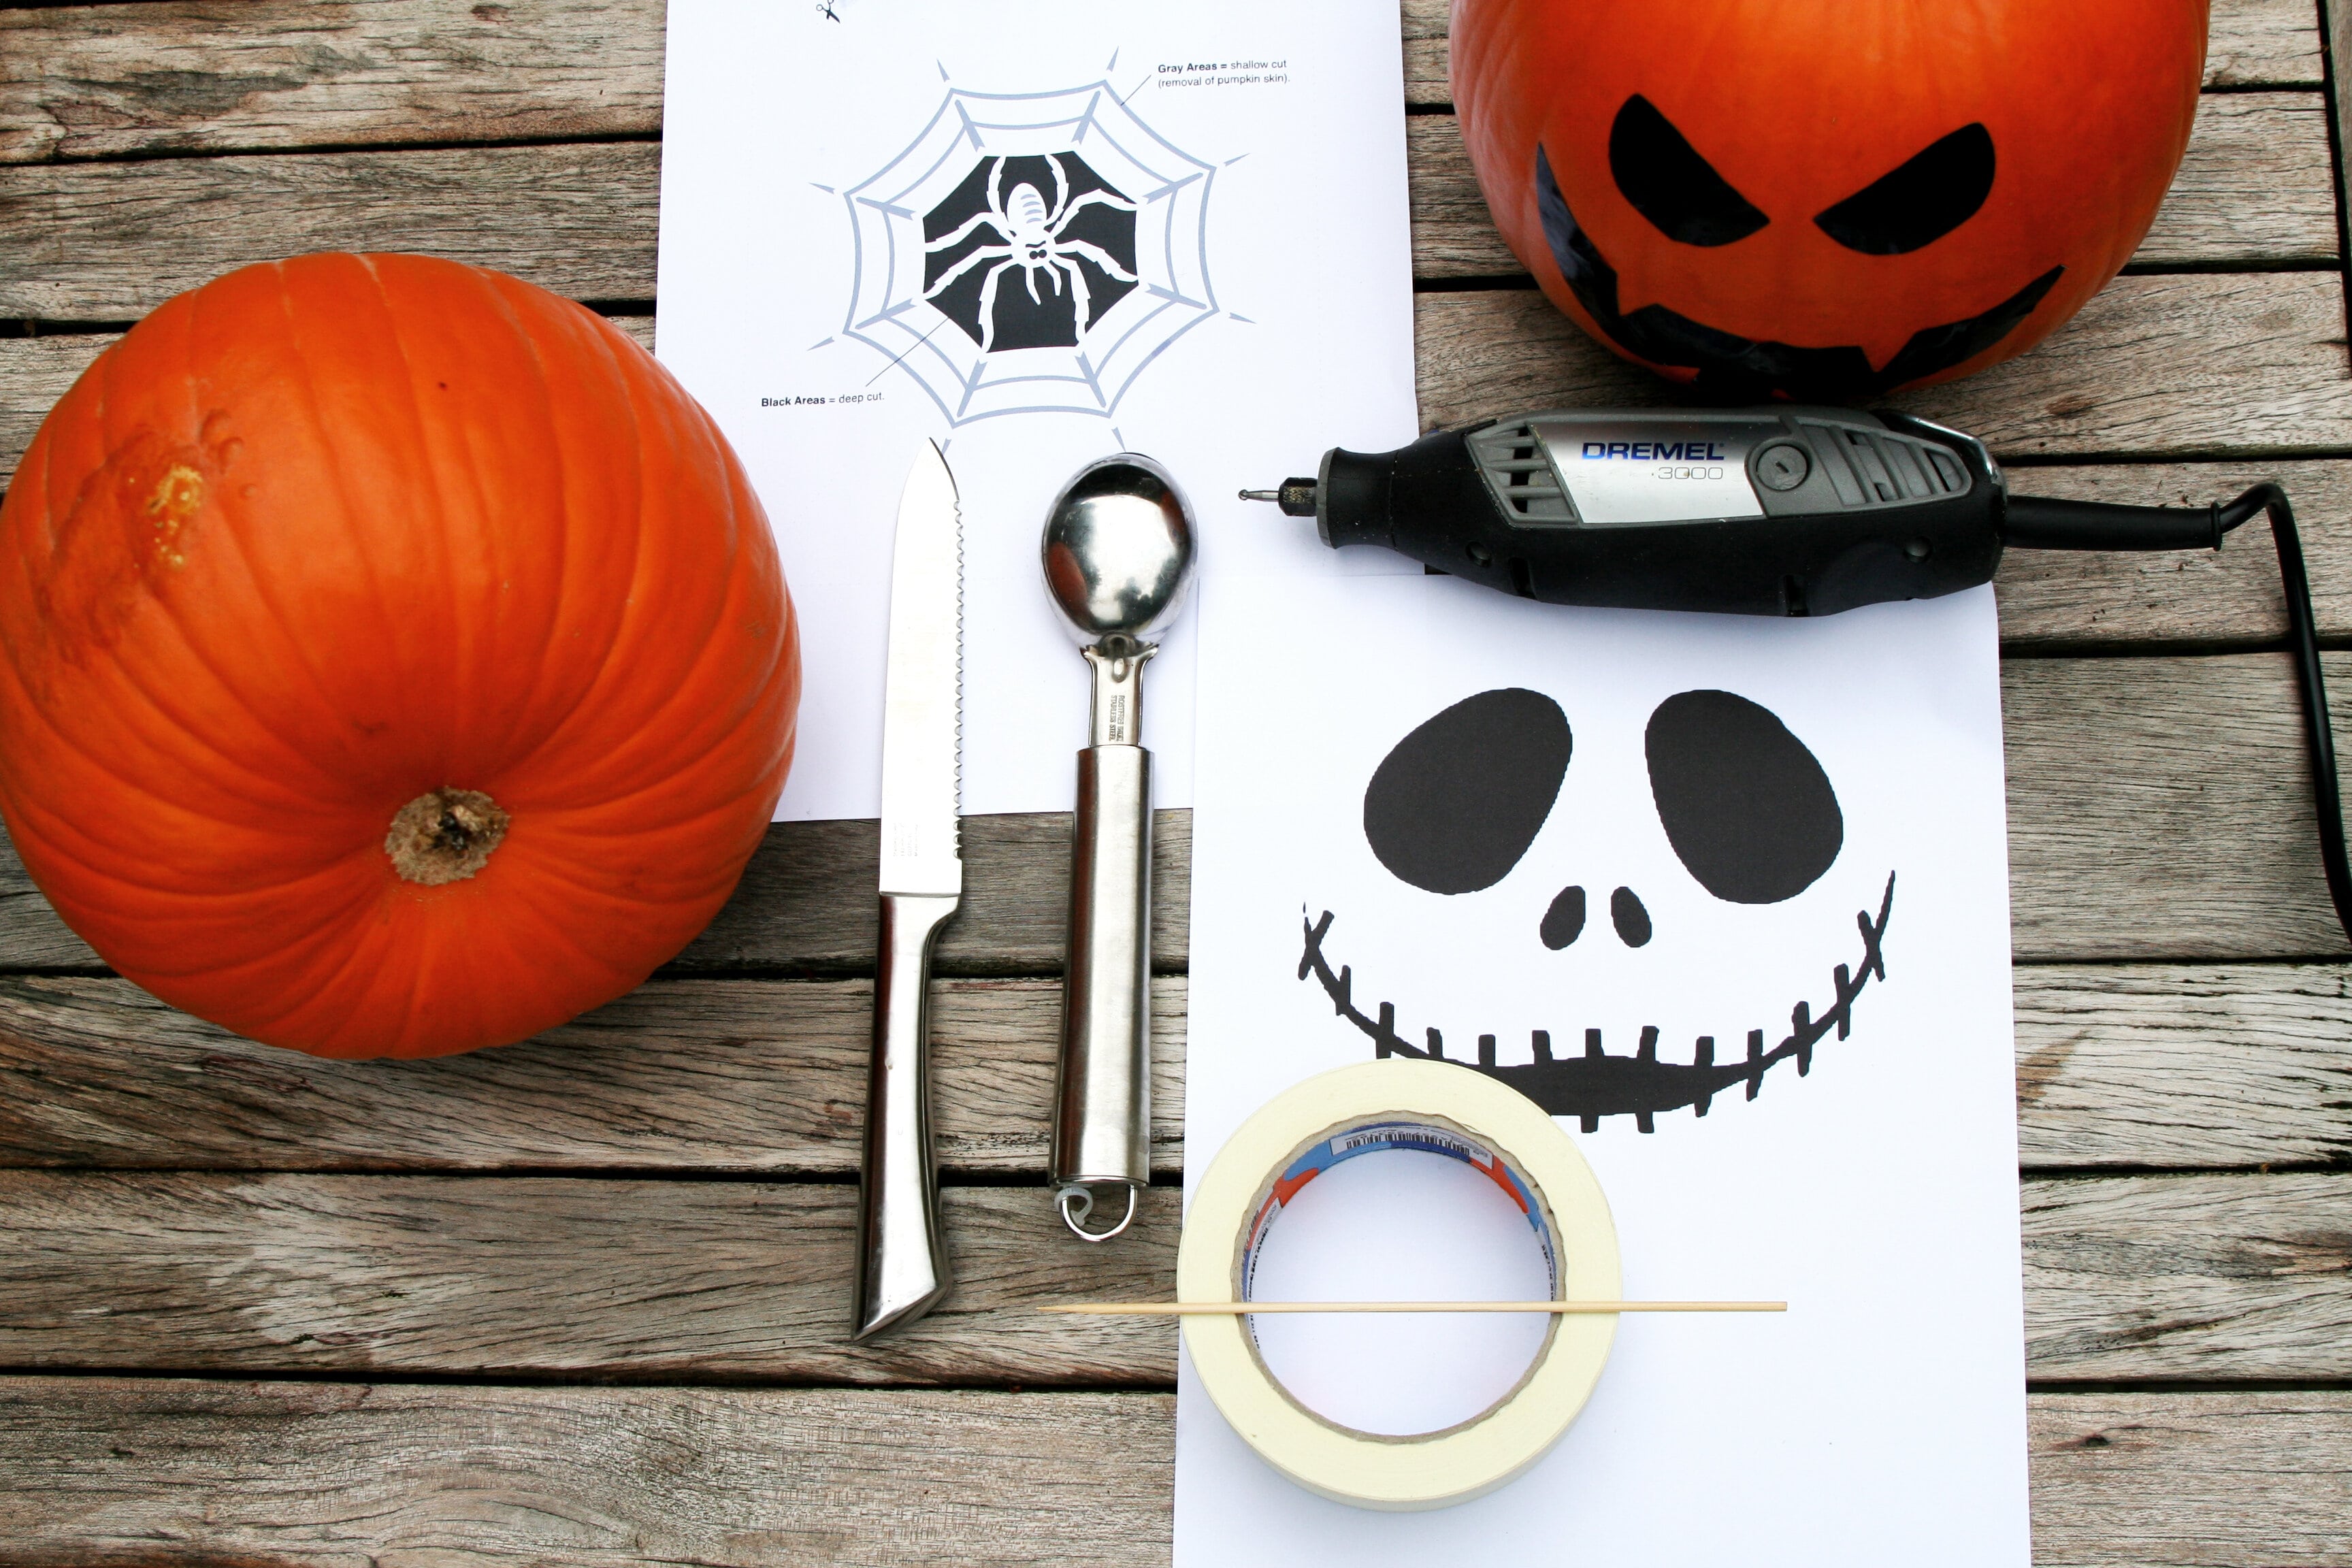
Tools:
- Dremel® 3000 Multi-tool (other multi-tools can be used)
- Dremel 194 Carving Bit
- Dremel Sanding Drum
- Gloves, Safety Glasses
- Apron (optional)
- Multipurpose Cutting Guide Attachment (optional)
Materials:
- Pumpkin
- Skewer / toothpick (a sharp pencil could do it)
- Pattern / Stencil (optional)
- Masking Tape
- Spoon
You can download our print at home How to Carve a Halloween Pumpkin instructions here.
Step 1: Remove the Filling
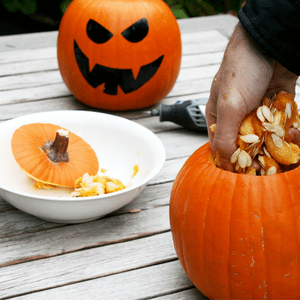
First, cut a “lid” in the top of the pumpkin. Remove the inside of the pumpkin and scrape out the pumpkin flesh from the inside using the spoon. The more flesh you remove, the thinner the pumpkin walls – which will give you a brighter candle glow. However, be careful not to remove too much or you’ll split the side of the pumpkin.
Top tip: Instead of a knife, a Dremel Multi-purpose Cutting Guide Attachment and Multi-purpose Spiral Cutting Bit will help make this step much easier to complete.
Step 2: Draw Your Design
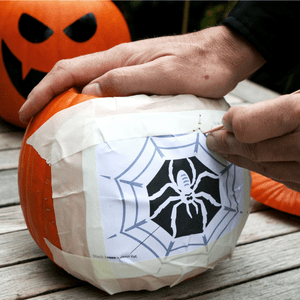
You can draw a design freehand or attach your stencil/design to the outside of the pumpkin. Using a skewer (or sharpened pencil) start to pierce the pumpkin, following the lines of your design.
Step 3: Carve the Pumpkin
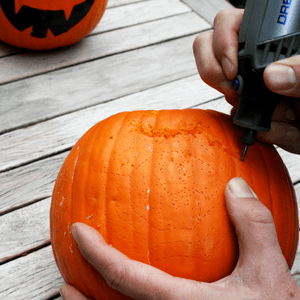
Using your Dremel with its attached carving accessory, fully carve out your design into the pumpkin. You can switch to larger carving accessories to remove more material quickly and use a Dremel sanding band to create a smooth finish.
Step 4: Glowing Success!

Finally, place an LED candle into your Halloween pumpkin and watch your design light up!
And that’s how to craft your own Halloween pumpkin to entice Trick or Treaters and get your home into the Halloween spirit. Don’t forget to share your DIY Halloween decorations with us @Homebase_UK on Instagram.


