

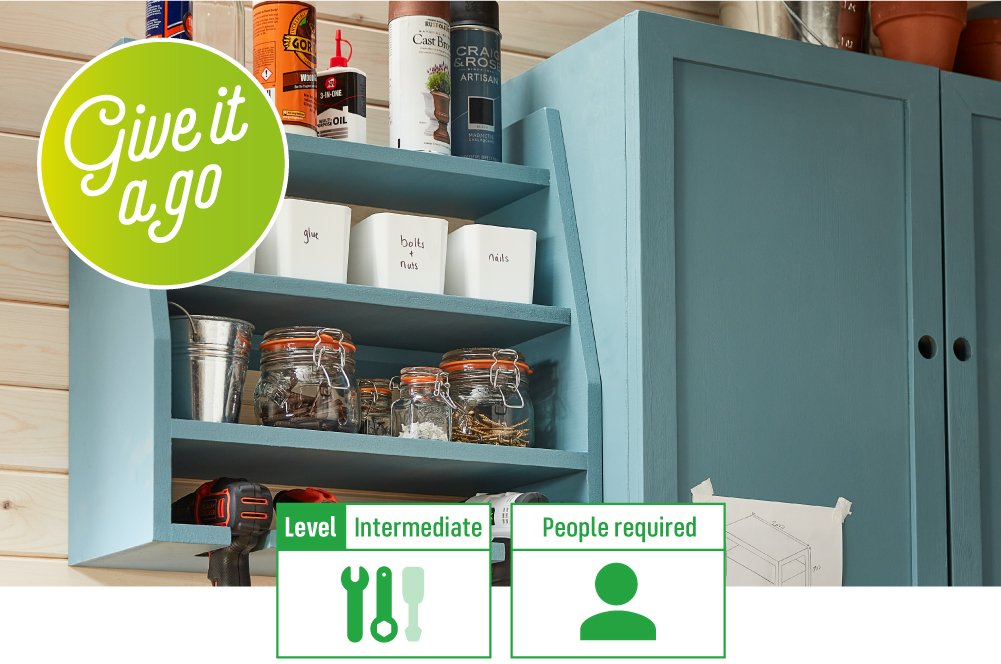
As much as we all try our best, keeping our tools tidy is no easy task. Usually, the toolbox ends up like Mary Poppins’ handbag and our drills couldn’t be further away from their drill bits and battery packs.
This handy DIY drill and tool storage enables you to store your drills, battery packs and go-to extras like your tape measure and spirit level, all in one easy-to-reach spot.
Let’s start with what you’ll need.
Materials:
Tools
- Circular saw
- Jigsaw or Keyhole saw
- Wood screws
- Masonry wall plug fixings and screws
- Drill with masonry and screwdriver drill bits
- Hammer
- T Bevel
- Sandpaper
- Clamps
- Tape measure
- Pencil
- Work bench
- Safety goggles
- Dust mask
- Ear defenders
-

Read our DIY safety tips and manufacturer instructions
Before you begin any DIY work, we recommend you read our DIY Safety Tips guide along with your power tool manuals to keep yourself and others safe and protected while completing this How To guide.
Due to its weight when full, you must only secure this stand to a masonry wall.
-
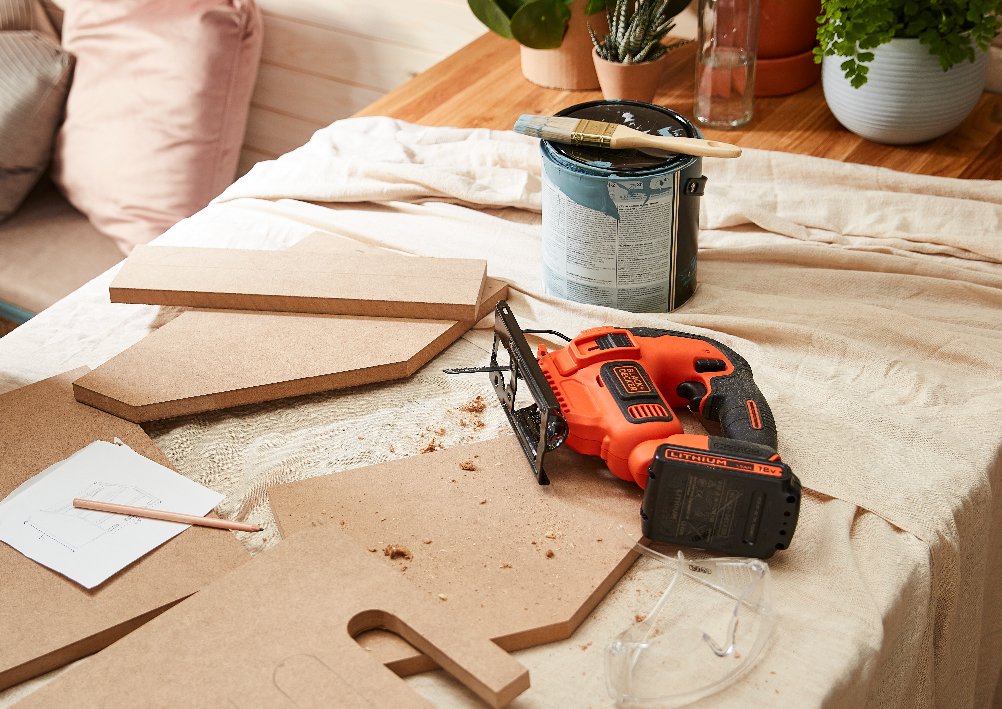
Let's start cutting
Take your first piece of plywood and measure out 250mm x 600mm with your tape measure and mark with your pencil. Next, cut them down to size using your circular saw. These will be your side panels.
After you’ve cut both sides, place them on top of one another to check that they match. If you need to cut more off one of them, keep them stacked while you cut to marry them up, and make sure you clamp them securely.
Top tip: Always wear the appropriate safety equipment when using any kind of saw and drill.
-
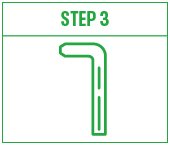
Create your angle
This part can be a little tricky, so just have patience as it will give your storage a sleek, quality look to it.
Measure 200mm in from the bottom edge on the long side of one panel. From there mark out a 10-degree angle, using your T bevel, all the way to the top. Then, once again with your circular saw, cut along the angle.
Stack your freshly cut panel on top of the other, clamp in place, and follow the cut with your saw.
Top tip: After you’ve cut both sides, place them on top of one another to check that they match. If you need to cut more off one of them, keep them stacked while you cut to marry them up, and make sure you clamp them securely.
-
Cutting your shelves
Along your side panels, using your pencil, mark where you plan to place your 4 shelves. Then cut them from your leftover plywood.
Your first two shelves should be around 250mm deep, and your next two should be 200mm and 170mm.
Top tip: The bottom shelf should be about 250mm deep to hold your drills securely, but you can make them any width you need to fit your space.
-
Assembling your middle shelves
Where you have marked each spot for two middle shelves on the side panels, match everything up, then use your drill with the screwdriver drill bit and screws to secure them one side at a time.
To prevent the wood from splitting, you should drill pilot holes into your wood before driving in your screws – this will also make the drilling of the screws an easier task.
Top tip: Leave your top shelf and drill support shelf unattached for now.
-
Making your drill support
Along your bottom shelf, use your pencil and measuring tape to mark out four rectangles at 40mm width and 200mm depth.
Then carefully use a jigsaw or combination of a circular and keyhole saw to cut them out. If you use a circular saw, we recommend you cut a little short of the measurements and then careful nibble away with the keyhole saw until you get them just right.
Finally, attach the shelf to the base of your storage using your drill and screws. Finish by attaching your top shelf in the same way you did your middle ones.
Top tip: Adjust these measurements to best fit your own collection of drills.
-
Sanding
To create a smooth finish, sand everything down and complete the look with some wood paint or varnish.
Leave it to dry the recommended time.
-
Mounting to the wall
Once it’s dry, mount to the wall.
To do this, use a masonry drill bit the same diameter as the wall plugs. And drive holes the width of your storage stand apart into the wall as neatly and straight as you can.
You’ll then need to drive two more holes into the wall, at the same height as where the middle of your stand will sit against the wall.
With a hammer, gently tap the wall plugs into the four holes you’ve just created.
Use your pencil to mark the middle of the tool stand, where you’ll need to drill through.
Then, change up to your screwdriver drill bit and screw in your heavy duty wall brackets to the wall, followed by securing your stand to the brackets.
Finally, drill the screws through from the middle of your stand into the wall.
Top tip: Got some leftover plywood? Why not give building your own wall-mounted bike rack a go?
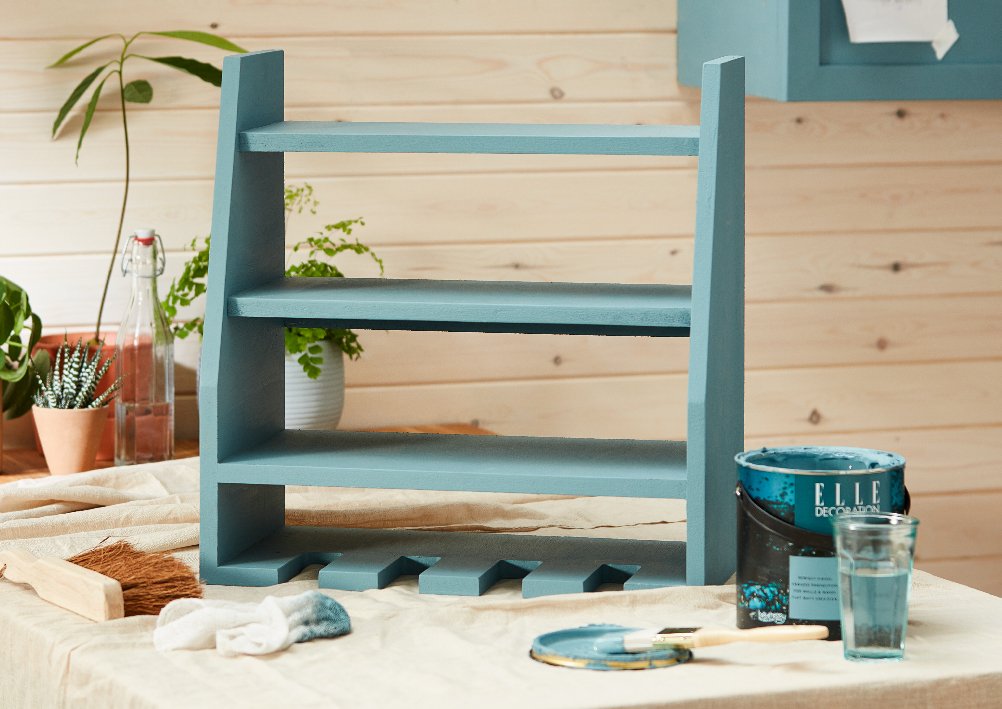
That’s your new Drill and Tool Storage Stand complete.
Don’t forget to upload an image of your new storage to social media, tag and follow us @Homebase_uk


