

Has your shed become a dumping ground full of junk? Is it currently so full that you can’t even get in it, let alone use it?
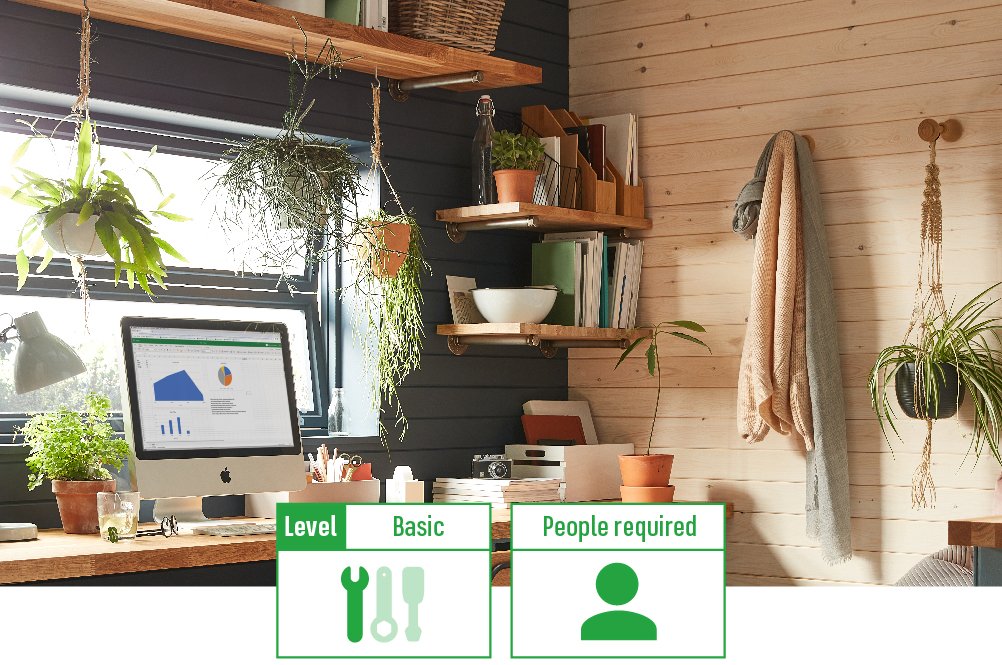
One way to help transform your shed into a much more pleasant and visually appealing space is by creating a hanging garden.
This simple how to guide will help you to create the perfect inspirational hanging garden for your shed.
Let’s start with what you’ll need.
Materials:
- Choice of plants (ones that prefer shade)
- Hanging baskets
- Floating shelf
- Protective floor covering
- 2 x wall brackets
- 2 x rod brackets
- Rod
- Hanging hooks
- 2x pieces of studwork timber
Tools:
-

Read our DIY safety tips and manufacturer instructions
Before you begin any DIY work, we recommend you read our DIY Safety Tips guide along with your power tool manuals to keep yourself and others safe and protected while completing this How To guide.
If your wall has any holes or cracks, you can find out how to repair them here.
If you’re in doubt about anything, reach out to a certified expert for assistance.
-

Prep the space
Make sure the space is clear. You may want to lay down a protective covering to protect the floor and make the clean-up that little bit easier.
-

Add extra support
The walls of your shed are quite thin, so to ensure they can take the weight of your shelf and hanging rod, you need to secure a some studwork timber across your joists.
To do this, take your first piece of studwork timber and your drill with screwdriver drill bit and drive in a screw at either end, into the joists. Followed by doing the same directly underneath it with your second piece.
To prevent the wood from splitting, you should drill pilot holes into your wood before driving in your screws – this will also make the drilling of the screws an easier task.
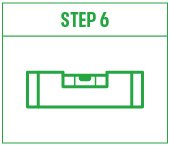
Top tip: Use your spirit level to ensure the studwork timber is positioned level before securing. And always wear safety goggles when drilling.
-

Marking your positions
Now you’re going to want to mark where you want your shelf to be. This will likely be the middle of your piece of your top piece of studwork timber.
Hold up the bracket suppled with your floating shelf against the timber in the position you want it. Use a pencil to make your fixing hole positions and then use a spirit level to ensure the positions are level with one another.
Top tip: If you are going to have multiple shelves, leave enough space for your plants to hang and grow.
-
Secure the bracket
Next, using a drill with its screwdriver drill bit and the supplied fixings, fix your bracket to the studwork timber.
-
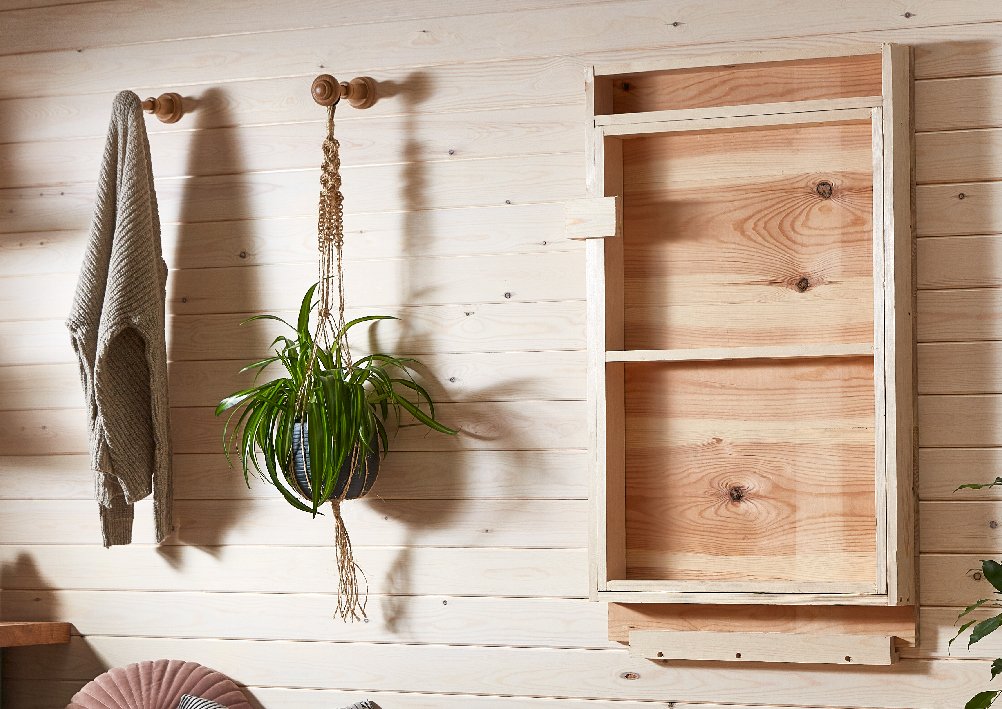
Slide on your shelf
After that, slide your shelf onto the bracket and check it’s level using the spirit level.
Once you’re happy with its position, find the pre-drilled holes on the underside of the shelf and the correct screws to fit. Screw these upwards and secure the shelf to the bar.
-

Add your brackets
Next you need to fix two wall brackets in the same way you did before onto the second piece of studwork timber.
To attach your below brackets at an equal distance away from the ends of your shelf, use a tape measure and pencil to plan your positioning beforehand.
-
Secure your rod bracket
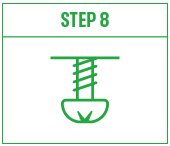
Before your can add your rod, you will need to attach the bracket for it to each of the wall brackets you have just secured.
Fix each rod bracket to the end of the top part of the brackets using the appropriate screws and fixings it came with, so that it is hanging down.
Your rod bracket should be the correct size to fit your chosen rod.
Top tip: Make sure the rod bracket is facing upwards.
-

Add your rod
Once your rod brackets are in place, add your rod in and check it feels secure.
-

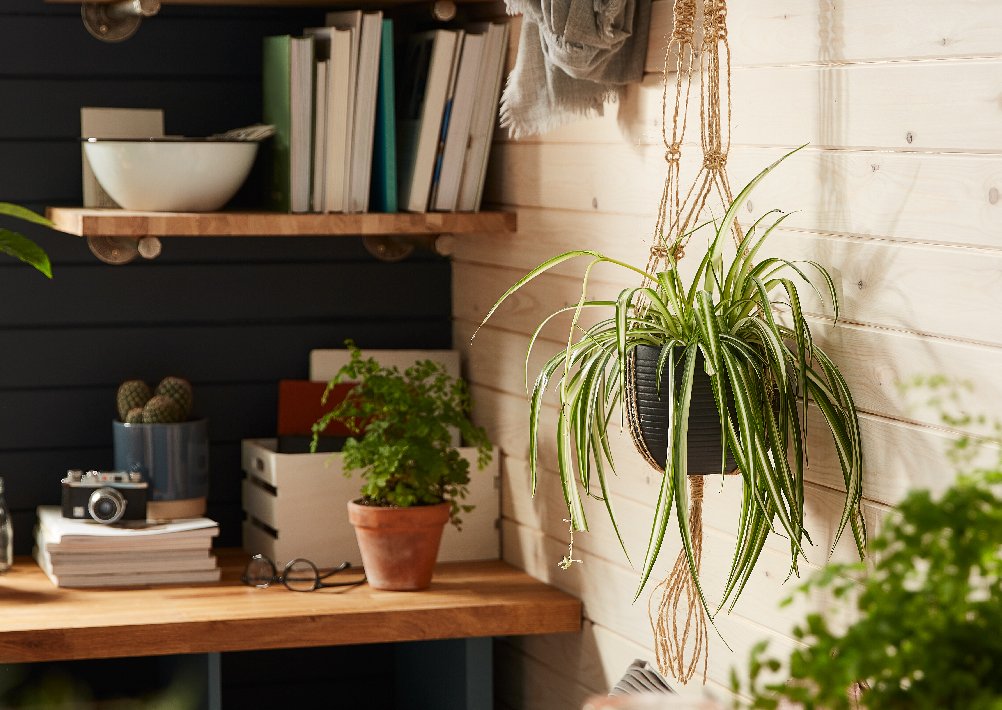
Decorating time
Now for the fun part – adding your plants.
Before you do this, you are going to want to pop your hanging hooks onto your rod. Then you can attach some hanging baskets or make your own.
When it comes to adding plants, you want to choose ones that are more suited to shaded areas. Some of our favorites are fern, calathea and spider plants.
If you want lots of plants, you could also add some on top of your shelf in pots, as your rod can only hold so much weight.
Top tip: Macrame hanging baskets are a huge trend right now and in fitting with your shed look and feel.
That’s a Hanging Garden for your Shed complete.
Don’t forget to upload an image of your new hanging garden to social media, tag and follow us @Homebase_uk.


