

Taking the time to nurture and care for the wildlife that comes into your garden is one of the best ways to keep your outside space tranquil and full of life. If you want to make a bird feeder that will attract some beautiful birds into your garden, you can’t go wrong with a sturdy bird table. Easy to put together and long-lasting with the right maintenance, a bird table will make a stylish addition to any garden or balcony – and give you the chance to see the local wildlife up close and personal every day.
Before starting to make your bird table, it is recommended that you read our DIY Safety Tips to keep yourself safe and free from injury.
Let’s start with what you’ll need.
Materials:
- Galvanised screws
- Angle brackets
- Screw hooks
- Pencil
- Ruler
- Bird feed
- Wood
- Top – 30cm x 55cm x 1cm
- Sides – 29cm x 1cm (x2) and 54cm x 1cm (x2)
- Post – 120 -150cm
- Base – 55cm x 3cm (x2)
Tools:
-
Choose your materials
The best DIY bird tables are always made from wood – preferably a type of wood that doesn’t fall apart or split easily when it gets wet, as you want your bird table to be durable and long-lasting.
We recommend solid timber or some quality plywood. As for the connectors, galvanised screws won’t rust in wet weather – helping to improve the lifespan of your bird table.
-
Prepare your wood
Begin by removing any dirt and grime off the wood and sand it down until smooth. It’s best to use un-treated wood and to add a layer of water-based preservative, before leaving it to dry.
-
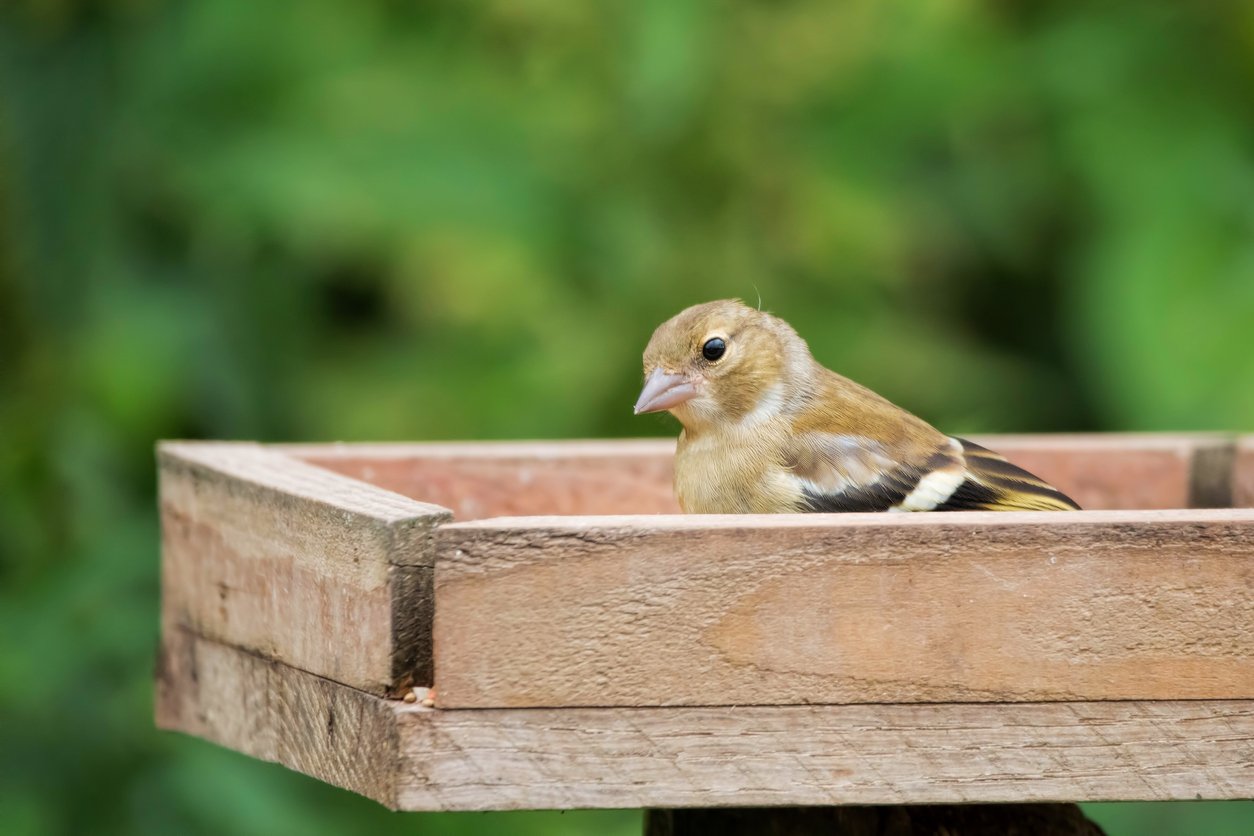
Table size
There isn’t a maximum size for your bird table – but we recommend keeping it to around 30cm x 55cm.
Any smaller and birds might fight over it, keeping the shyer species away. Any larger, and it may become too top heavy to balance safely.
-
Cut your wood
Cut your sheet wood to size, ensuring you end up with a flat rectangular shape – around 30x55cm and at least one centimetre thick.
To prevent your bird feed from falling off the sides of your bird table, cut four extra pieces of wood to add a thin 1cm high rim around the table’s edges – leaving small gaps in the corners to let water drain off and to make cleaning it easier.
-
Secure your bird table
Using your galvanised screws and drill, secure the rim to your table from beneath – keeping to three screws for each side.
Take the ruler and pencil, mark the middle point on the underside of your table, so you can line up your wood post to keep it balanced.
Next, with your angle brackets, screw your post to the underside of your table. Make sure your post is between 120 and 150cm, to prevent the bird table from being too top heavy.
-
Fix your base
Lastly, attach two smaller pieces of crossed timber to the bottom of your post for a more solid base. Once it stands upright on its own, you’re good to go.
Now your bird table is in position, you’re ready to fill it with bird feed. What’s more, you can add the screw hooks underneath the corners if you want to hang extra feeders from it as well.
That’s your bird table complete.
Don’t forget to upload an image of your new homemade bird table stand to social media and tag us @Homebase_uk.


