
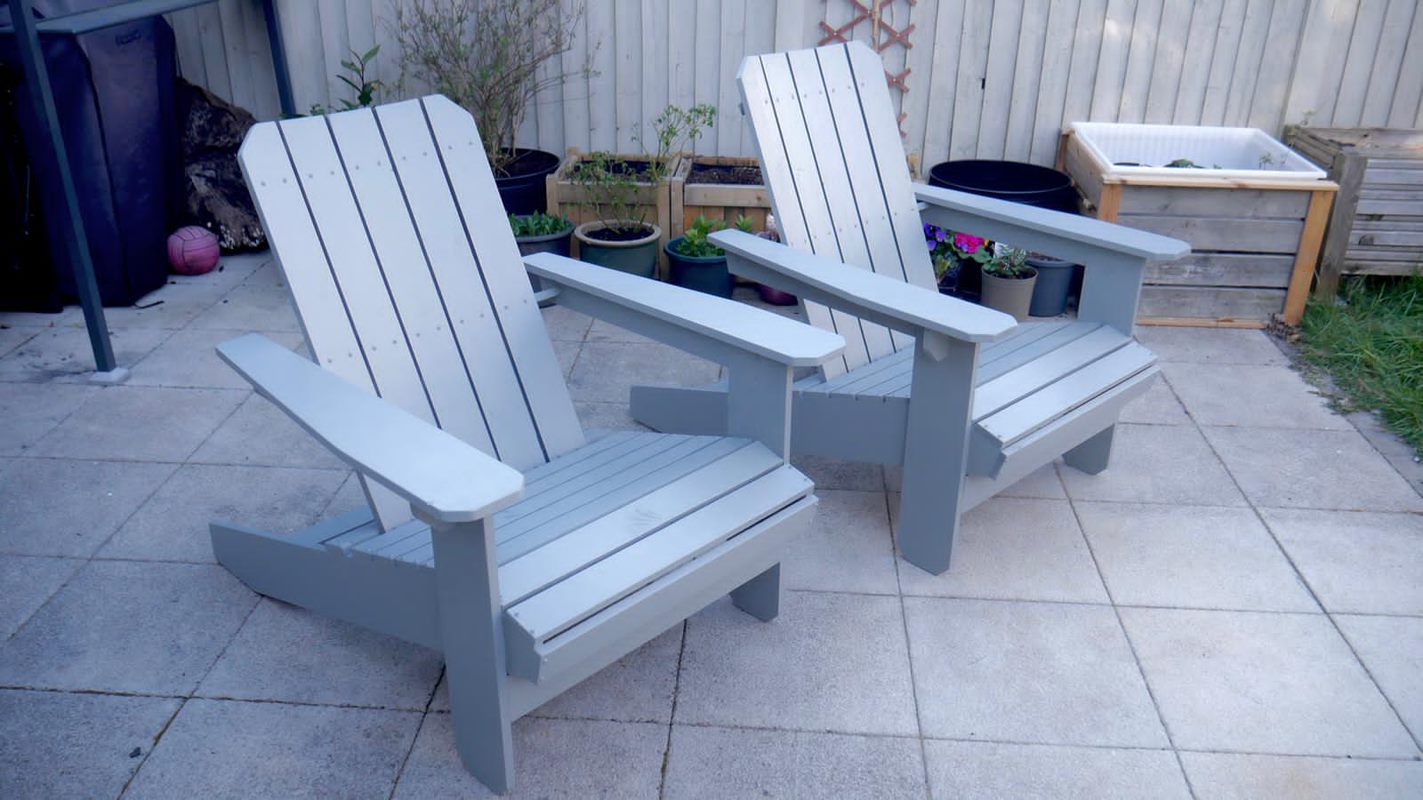

When designing an outdoor space that works for you, it’s important to have a place to sit back and relax. There are always lots of garden seating options to choose from, but what about making your own?
If you’re looking for something a little different, making an Adirondack chair could be the perfect outdoor seating solution for you.
What is an Adirondack chair?
The Adirondack chair was designed for lounging (and napping). It has a high back, a reclining, sloping seat that allows you to rest close to the ground and extra-wide armrests that provide an ideal place to set your drinks and nibbles on.
Whether it be for your garden, porch or balcony, making your own Adirondack chair will provide a great backdrop to your space – and its wooden frame can be painted however you like.
To help you make your own Adirondack chair, we’ve called upon the experts, Triton Tools and DIY enthusiasts, Brothers Make. They’ve put together these amazing Adirondack chair plans, along with a great how-to video, to guide you at each step.
Before you start:
As this project requires the use of some power tools, we recommend you take a look at our DIY Safety Tips. Reach out to a certified expert if there’s anything you’re not sure of.
Here’s what you’ll need:
Tools:
- SuperJaws portable workbench
- Double mini pocket-hole jig
- Drill and Driver
- Jigsaw
- Sander / Sandpaper 120 grit
- Tape measure
- Try square
- Pocket-hole jig clamp
- Zinc pocket-hole screws washer head 8 x 1-1/4″ – coarse
- 10x Pocket hole plugs
Materials:
- 3 x Planed pine boards 18x144x2400mm (approx 1/6″)
- 2 x Planed pine boards 18 x 94 x 2400mm (approx 1/4ʺ)
- 4 x Planed pine boards 18 x 69 x 2400mm (approx 1/3ʺ)
- Exterior wood paint or varnish
- Exterior wood glue
Download print-at-home Adirondack Chair Plans
-

Cut your timber lengths to size
With your 18x144x2400mm timber
- A – Back leg x2 – 1190mm
- B – Front leg x2 – 600mm
- C – Arms x2 – 815mm
- D – Mid brace – 624mm
- E – Rear brace – 624mm
With your 18x94x2400mm timber
- F – Back slat x5 – 790mm (cut a 50° custom corner on 2 of them)
- G – Front brace – 660mm
With your 18x69x2400mm timber
- H – Seat slat x8 – 660mm
- I – Arm rails x2 – 5700mm (mirrored)
- J – Back brace x2 – 660mm (on one, adjust the jigsaw to 10° when cutting the curve)
- K – Top back brace – 480mm
- L – Arm support x2 – 90mm
-
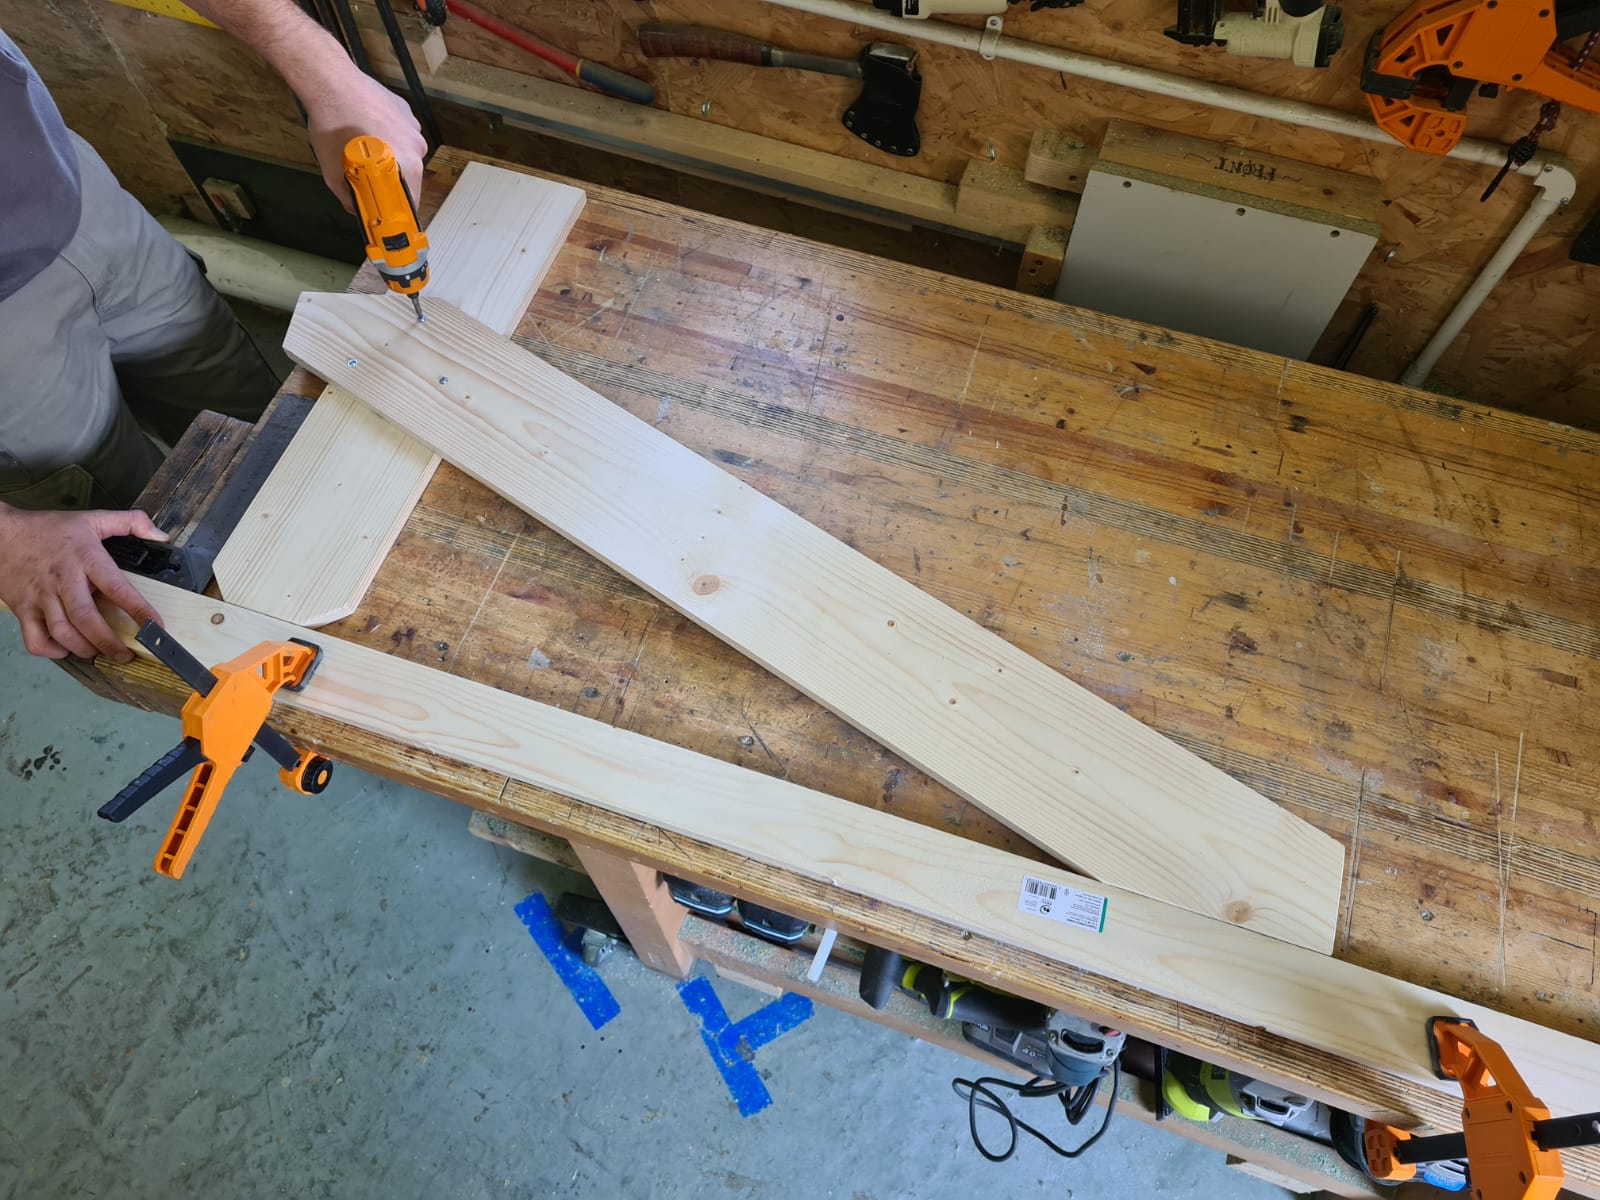
Assemble the legs
Take the pieces of wood labelled A and B, leaving an overhang of 95mm – and with the underside of piece A being 260mm from the floor.
Use a straight edge to ensure the two parts sit flat and attach them together using three screws. Then, make the second leg of your Adirondack chair by assembling a mirror image of what you’ve just done.
-
Attach the three braces
These are parts D, E and G – using pocket holes. You’ll want your Adirondack chair to look its best, so ensure your pocket holes are hidden on the inside.
Top tip: Triton pocket hole screws are self-tapping, so there’s no need to pre-drill pilot holes unless you’re working very close to an edge.
-
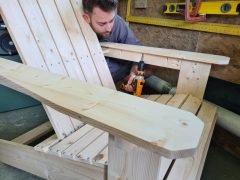
Make a back rest
To do this, attach the centre slat (the first of your F pieces) to the middle-curved braces (J and K). You’ll need to ensure the back brace with the 10-degree angled curve is on the bottom.
Then, continue to add the rest of your F slats, working outwards from the centre with a 9mm gap in between.
Top tip: A pocket hole plug works perfectly as a spacer.
-

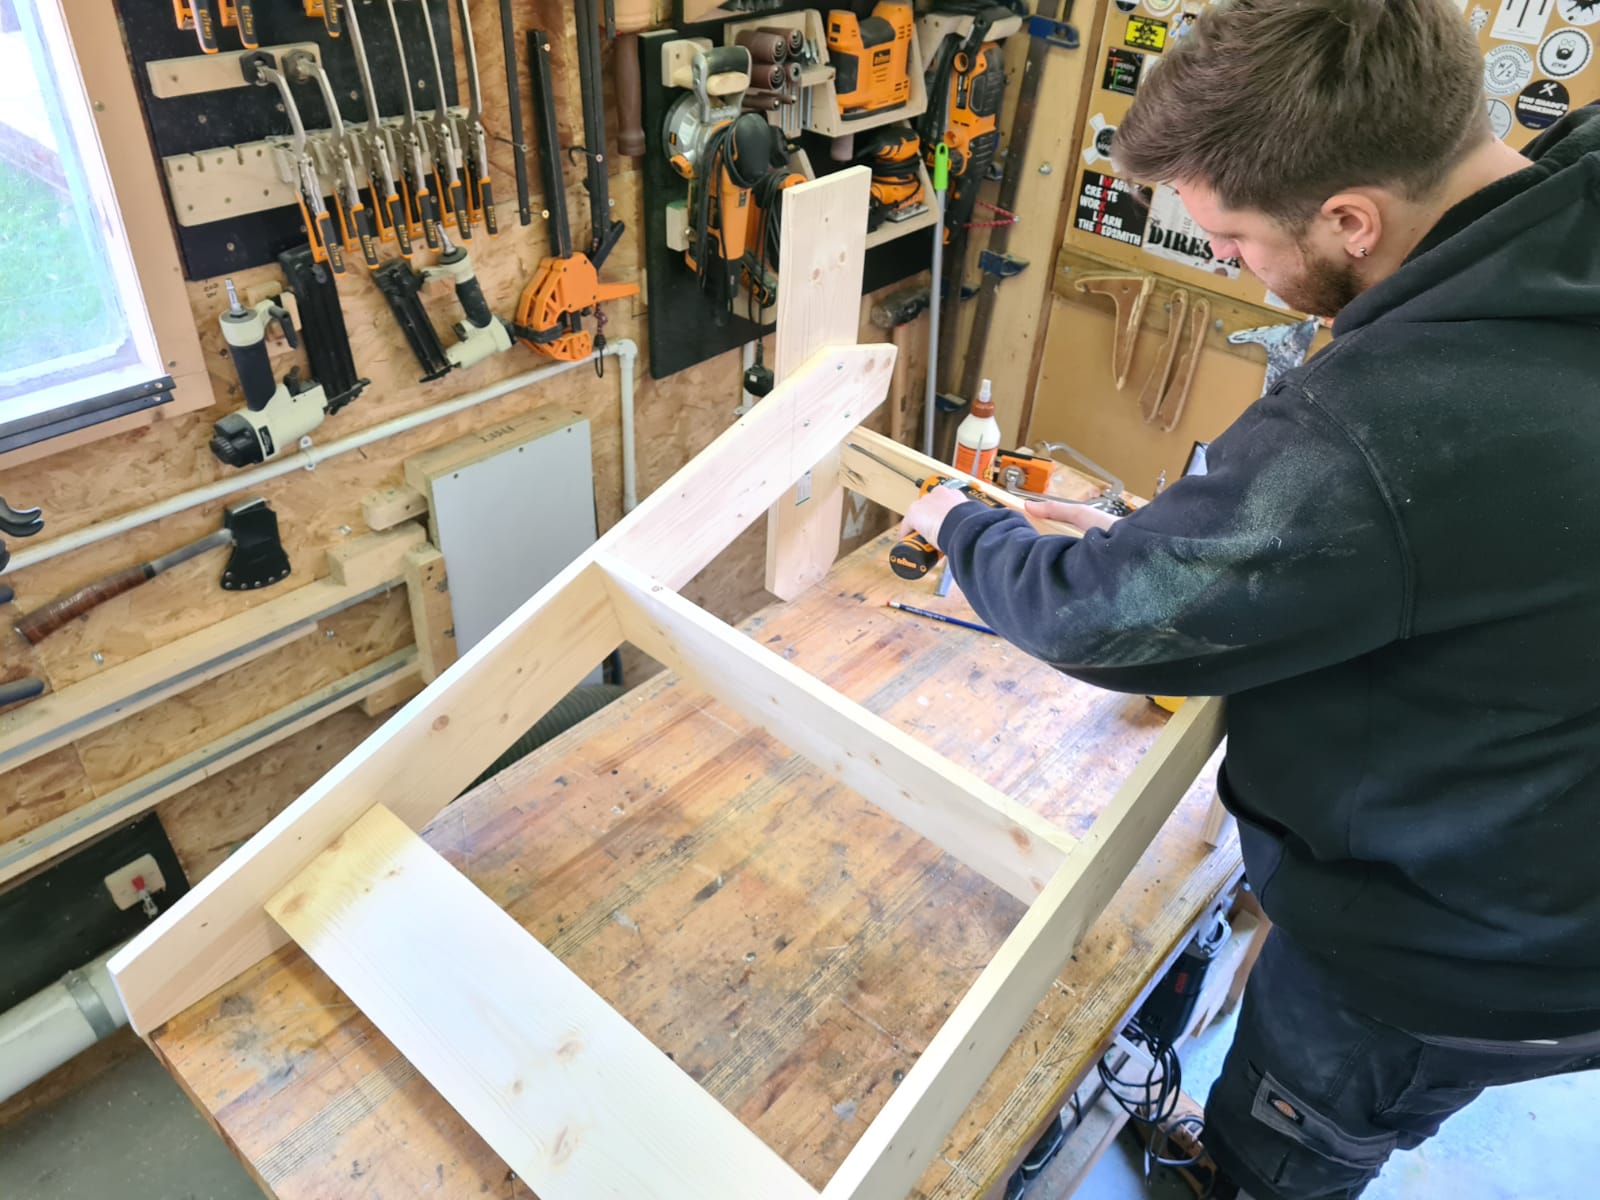
Attach the back rest to the base
Simply take your drill and screw the bottom brace into the back legs.
-
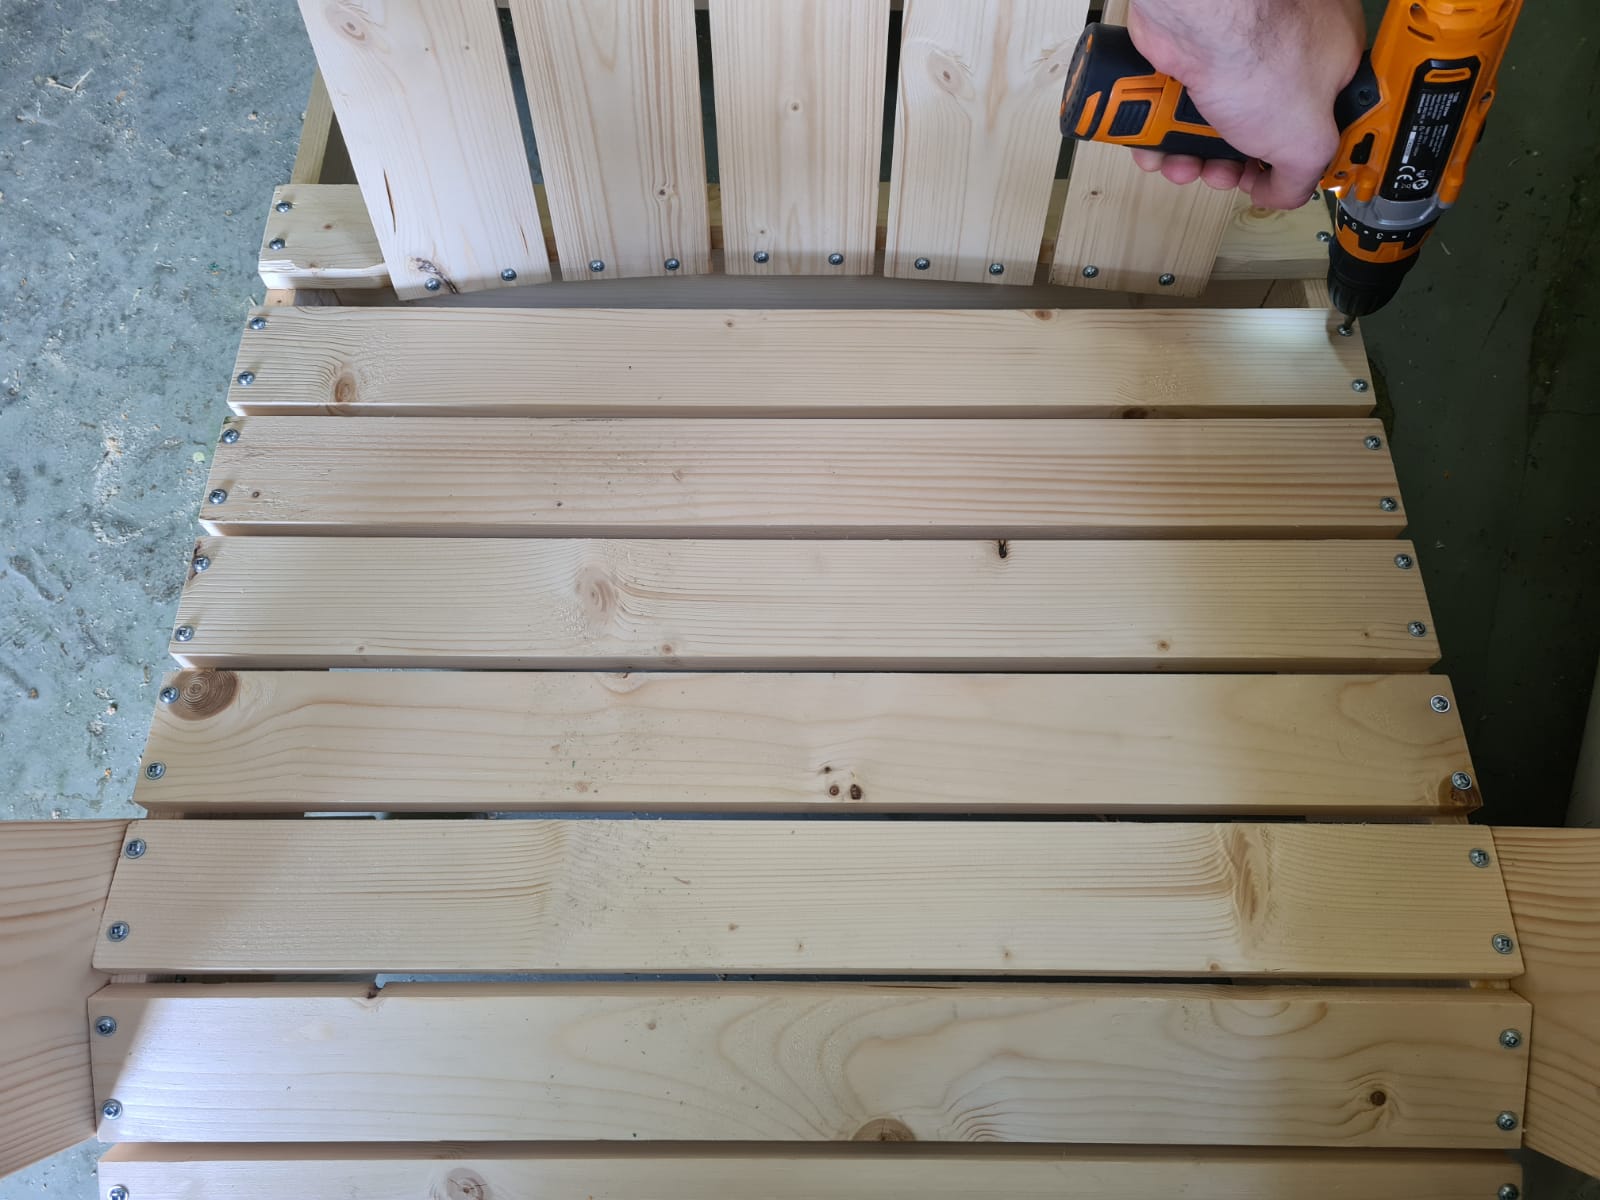
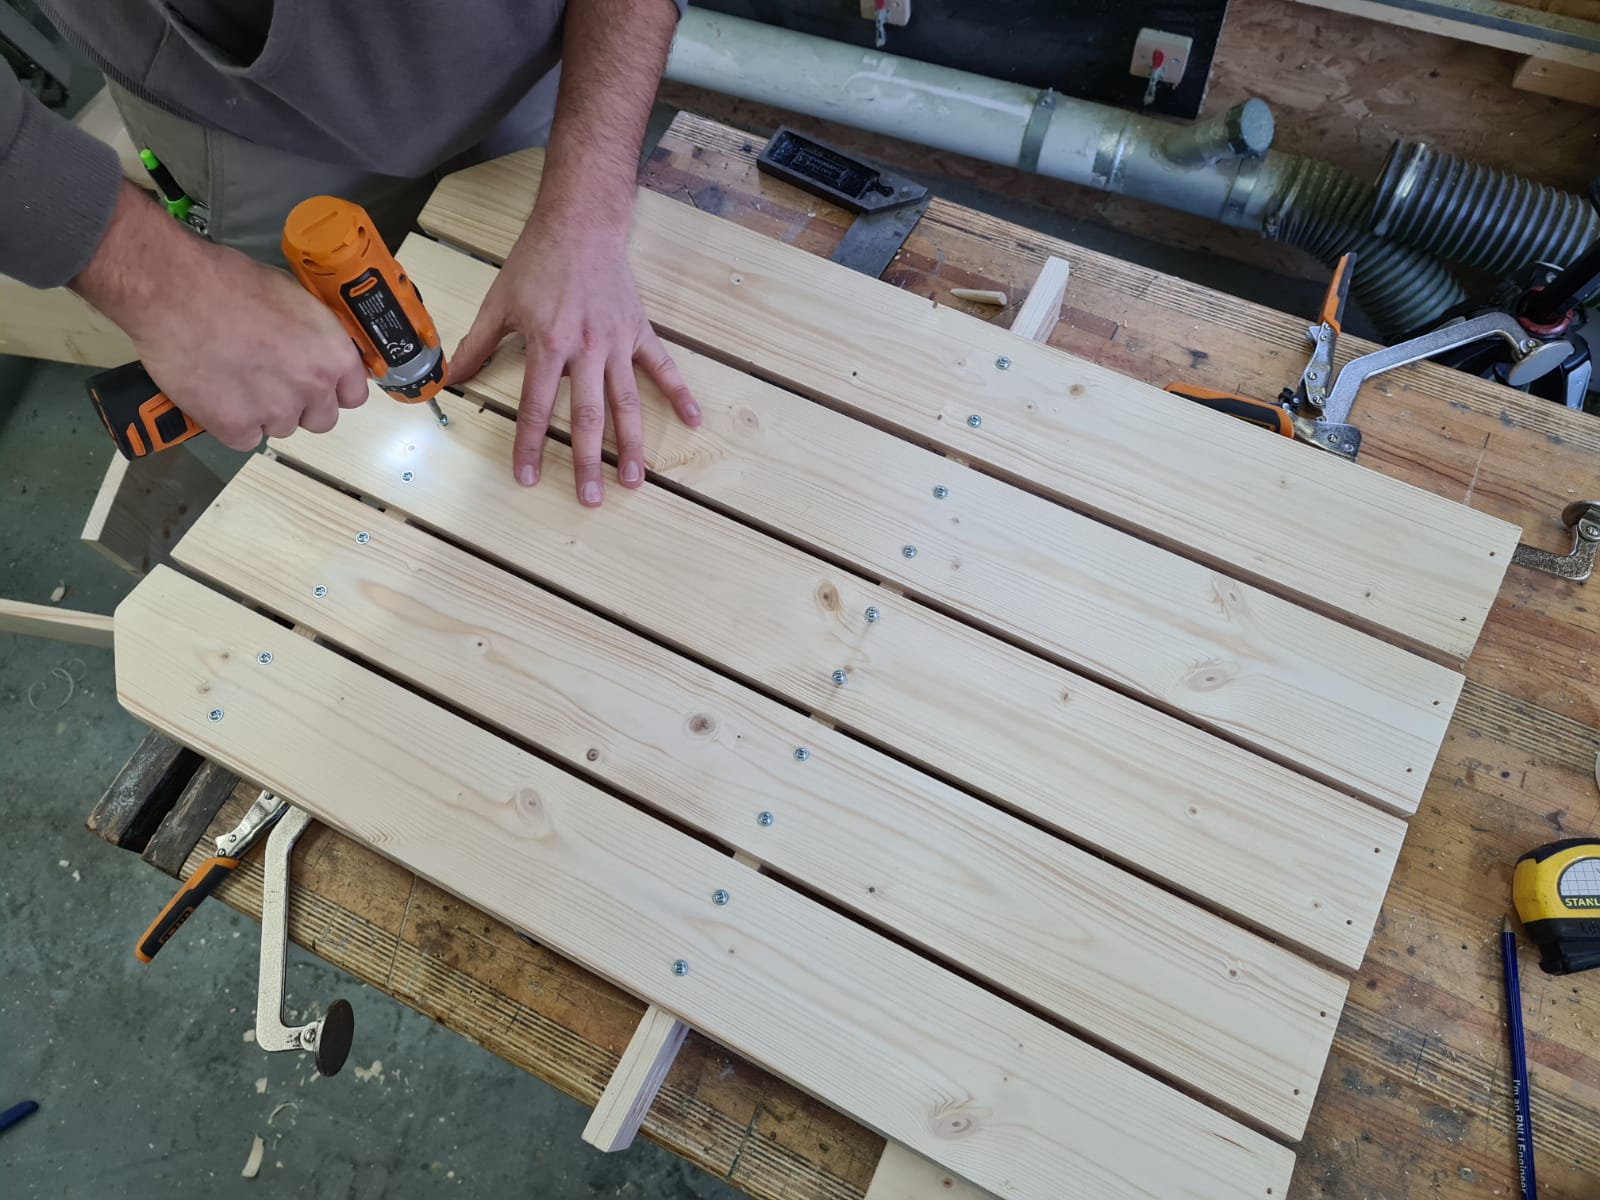
Attach the seat slats
Take piece H and secure it to your chair’s back legs (A), using two screws on either end of each slat.
Again, use a pocket hole plug as a space in between each slat.
Top tip: Pre-drill the holes in your slats about 15mm in from the edges.
-

Attach the arm rails
Now it’s time to secure the arm rails (I) to the front legs of your Adirondack chair, using two pocket hole screws.
Next, attach the arm supports (L) to the centre of the outside face of the front legs – these are your B pieces. Keep them flush to the top.
-
Attach the arms
Take your C pieces of wood and attach them using pocket holes through the arm supports (L) and rails (I).
To ensure maximum comfort in your Adirondack chair, the arms should overhang the front legs by 70mm.
-
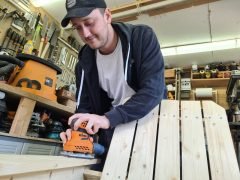
Sand the chair
Using 120 grit sandpaper, smooth the surface and edges of your chair. The last thing you want is a splinter interrupting your mid-afternoon nap!
-
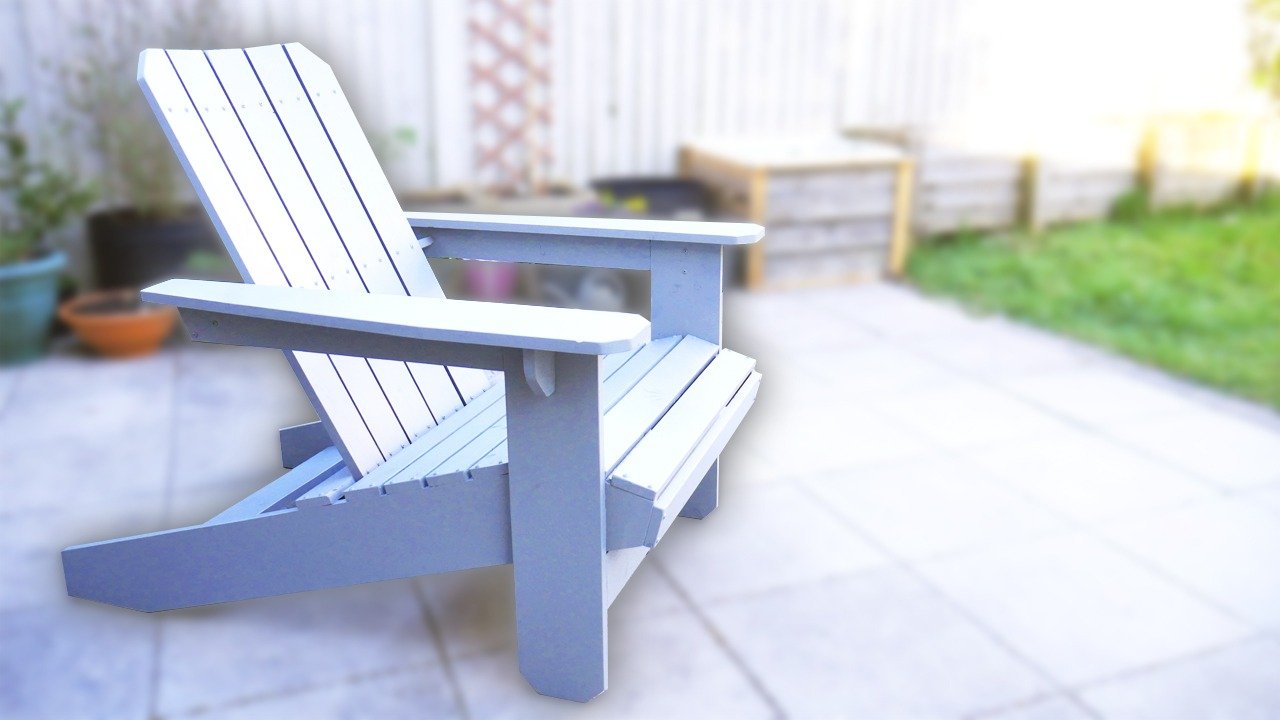
Apply the finish
Now you know how to make an Adirondack chair, it’s time to blend it into your outdoor setting.
Choose your preferred finish of choice – will you opt for a wood stain or exterior paint colour?
Once it’s dry, enjoy a well-earned sit down!
That’s your Adirondack Chair Plans complete, we told you it was simple! We’d love to see how it looks – upload a photo of it to social media and tag us @homebase_uk.
-

This DIY project is in partnership with Brothers Make
Matt and Jonny Browning are part-time woodworkers who love sharing what they make with the world. You can find them on YouTube, Instagram and Facebook by searching ‘Brothers Make’: “We hope that our work inspires others to try it for themselves. Making things with your hands is a skill that everyone can try but many don’t set the time aside to do so. Give it a go! You won’t regret it.”
-

and Triton Tools
Triton has created specialist woodworking tools for over 45 years and knows the greatness of every project – joinery, carpentry or craft – lies in the details. Developed in the UK for woodworkers everywhere, the Triton range includes world-famous routers, award-winning power tools, hand tools, Workcentre systems and accessories. To see more projects you can build at home, check out the Triton Tools YouTube channel.


