

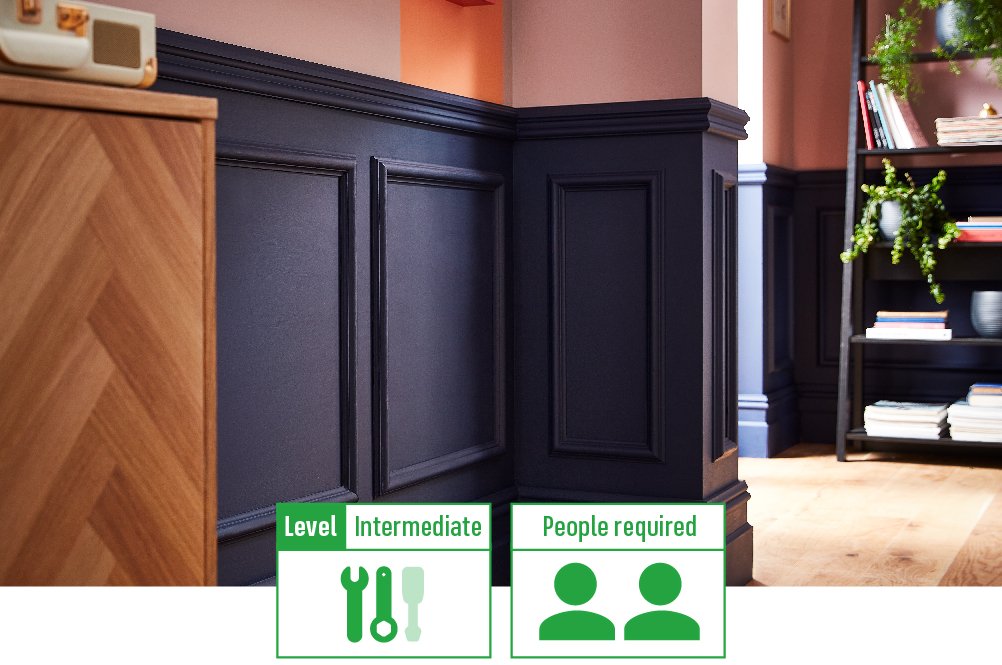
Simple but sophisticated, learning how to panel a wall is a fantastic way to add character to any home – as well as seamlessly fitting in with almost any interior décor. With plenty of styles and colours to choose from, you can panel the perfect wall at home in no time, and we’re here to show you how with this simple step-by-step guide.
What you’ll need:
- MDF cut to size (with a cutting list)
- No More Nails
- Sander
- Spirit Level
- Paint
- Hammer
- Pins
- Tape Measure
- A Pencil
-

Sketch your design
To kick off, making a quick sketch of what you want your panel wall to look like is a great way of staying on track throughout the project by knowing how many panels you need. Just make sure you keep it to hand!
-
Measure your wall
Once your sketch is done, the best place to properly start your panel wall is by measuring every inch of it – as it’s crucial to get your measurements right so your panel sizes are even.
Just follow our five simple steps to make sure everything’s measured correctly:
- Grab your tape measure and measure the full width and height of the wall you’re panelling.
- Jot down your measurements on your sketch so you don’t forget them.
- Decide how many panels you want your wall to have.
- At this point, you also need to decide what width you want your rails and stiles (the horizontal and vertical MDF pieces used to create your panel shapes) and base rail to be. Mark those measurements down on your sketch too.
- These measurements will all be essential for creating a cutting list.
-
Create a cutting list
Here’s how to make a list of exactly what sizes you need before hitting up your nearest wood cutting shop.
Horizontal rails
- For your horizontal rails, multiply the chosen width for your pieces (from Step 2) by the number of pieces you need for your columns. If you get stuck, your sketch should help.
- Then, take that total number and subtract that from your wall’s total width.
- Finally, divide your new figure by how many panels you’ve decided on.
- This will leave you with the exact size of your wall panels and your horizontal rails.
Vertical stiles
- For your vertical stiles, combine the depth of your base rail with the depth of your top rail.
- Then, take that total number and subtract that from your wall’s total height.
- This will leave you with the exact length of your vertical stiles. Now all you need to do is take that cutting list and get your MDF pre-cut.
-

Preparing your wall
After all your hard work, the last thing you want is for your panel wall to end up uneven or bumpy – so sand your whole wall down before attaching any of your boards. Plus, the sanding will help your adhesive stick better too.
-
Start to stick
Now your wall is smooth and ready, it’s time to start adding your panels. Using No More Nails, stick the base rail to your wall, pressing down firmly all the way along to make sure it sticks properly – then leaving it to dry.
TOP TIP: To protect your wall from damage, we recommend using No More Nails instead of real nails – but the choice is yours.
-
Finish your borders
Once the base rail is done, repeat the process with your top rail – again, leaving time to dry. Then you can move onto your pre-cut side stiles, which should fit in neatly between your top and bottom rails. Using a spirit level to make sure they’re straight, stick them down too.
TOP TIP: Tacking a panel pin into your top rail can help fight gravity and keep it safely in place until the adhesive has set.
-
Create your panels
Using your rails as column spacers, as well as the marks you made on the wall – fix the rest of your stiles on the wall one by one, until you’ve got neatly divided columns all the way along.
-
Place your rails
Once your stiles are in place – it’s time to add your horizontal rails in-between, again using adhesive to stick them to the wall. Don’t forget to pin them if you need!
TOP TIP: From evenly spaced vertical squares to a larger middle block with smaller spaces above and below, there are several designs you can create with for your rails – whether matching your room’s style or sticking to your original sketch design.
-

Fill any gaps
Once you’ve finished all your panels, step back and look over the whole wall. If there are any small gaps in between boards – fill them with Polyfilla and sand down the joints to keep it smooth.
-
Pick your paint
Once your adhesive has set, it’s time to get painting. With hundreds of paint shades on offer, pick a colour for your panel wall that suits your interiors, put a dustsheet down and start brushing!
-

Stop and stare
Once everything has dried, all that’s left to do is stand back and appreciate your efforts with your brand-new panel wall.


