

Skirting boards and coving are used to cover the join between walls and the floor or ceiling. Available in many decorative shapes (known as mouldings) and in a variety of materials, they can be varnished or painted to suit your interior style. To help you achieve a professional finish, we’ve put together this handy guide on how to install coving and skirting.
Before you get started, take a moment to read through our DIY safety tips. This task may be tricky so will suit you if you’re experienced in DIY or are up for a challenge.
What You’ll Need:
Measuring up
The key to a professional-looking finish is a precise fit.
Measure the length of all the walls in the room to work out how much coving you need. Do the same for skirting, deducting the width of any door frames, built-in cupboards and so on. To be on the safe side, allow for 5% extra.
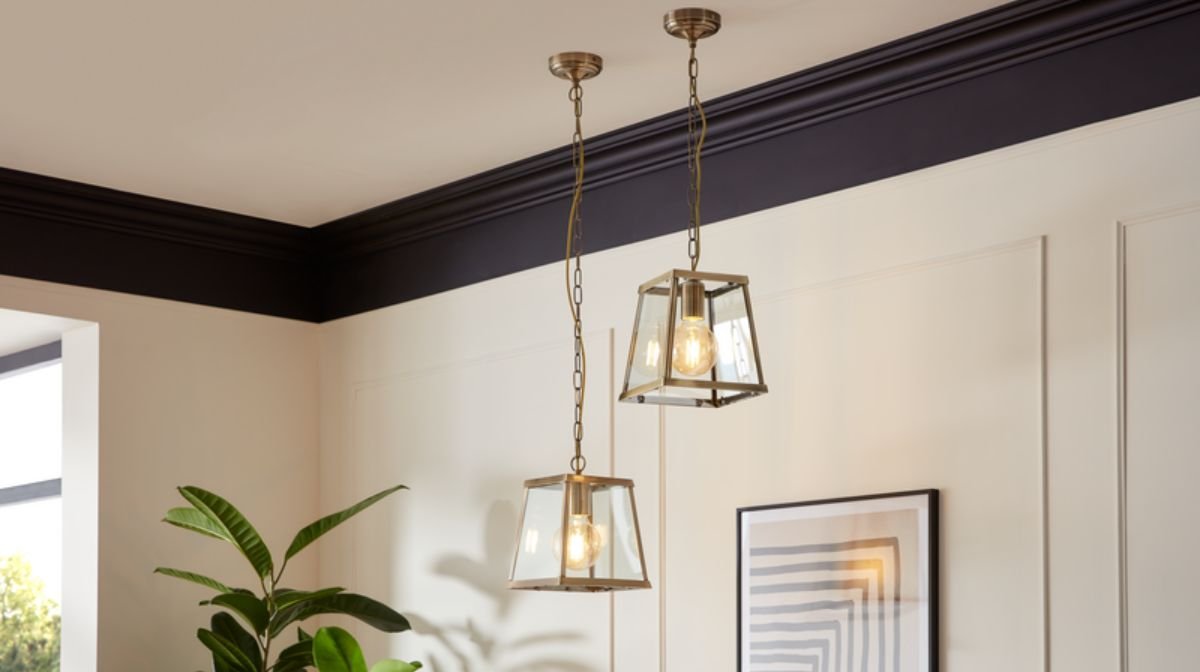
How to fit skirting boards
Like coving, skirting gives an attractive finish to any room and is easy to fit when you know how.
Like coving, skirting gives a lovely finish to any room and is really easy to fit when you know how. Here are some top tips.Step 1. Use the right fixing for your walls
- Damp-proofed walls: Only use adhesive to fix skirting as driving nails or screws through a damp-proofed wall will damage the waterproof seal.
- Masonry walls: Use two masonry nails or screws every 600mm. Try to use old fixing points if you’re replacing the skirting. If you use screws, hold the skirting board against the wall and drill a pilot hole through the skirting into the wall. Then, countersink the screw holes, insert a rawl plug and fix with a screw. To hide the screw head use a little filler and sand it flush. Important! Check there are no pipes or cables behind the fixing points when using screws or nails.
- Stud walls: With a stud detector locate the studs in the wall. Use these as the fixing points – upright studs are usually 400mm or 600mm apart. Fix the skirting boards with two screws or two lost-head nails at each fixing point.
- Plaster walls: Try to find the studs and fix into these with either two screws or two lost-head nails. If you can’t find the studs just fix at regular intervals.
Top tip: Painting the back of your skirting with wood preservative will help to protect the wood, making it last longer.
Step 2. Mitring corners
- Using a mitre box is the neatest way to fit skirting boards at internal and external corners.
- Cut the end of the first piece of skirting at a 45-degree angle with a saw. Sand any rough edges.
- Fix the skirting with the method that suits your walls (see above).
- When joining two pieces of skirting at a corner, spread adhesive on cut ends. Hammer in two lost-head nails either side of the corner for extra strength.
Top tip: To remove old skirting boards, tap the blade of a bolster chisel between the wall and the skirting with a hammer. Prise the skirting far enough to insert a crowbar. Using a thin piece of wood under the crowbar to protect the plaster, lever the skirting board away from the wall.
Step 3. Joining lengths
- If a single piece of skirting won’t cover the whole length of a wall, you’ll need to join two pieces.
- To join two lengths, mitre the ends of both pieces at 45 degrees – one mitre going one way, and the other the opposite way. Check the two pieces fit together before fixing them.
- Glue the cut ends of the two boards and fix them to the wall next to the join with lost-head nails.
Step 4. Finishing off
- Fill any gaps between the skirting and the wall with decorator’s caulk and leave to dry.
- If you’re painting the skirting, fill all the screw and nail heads then sand them flush with sandpaper.
- Apply knotting solution to any knots and then paint on a primer. Next, you’ll need an undercoat and finally a topcoat of emulsion or interior wood paint.
How to fit coving
Fitting coving requires a similar method. Here are some easy steps to help you achieve the best finish.
Step 1. Choose your design
- Traditionally, coving was made from heavy plaster. Newer, polystyrene models are more affordable, lightweight and are waterproof, making them a great options for kitchens and bathrooms.
- Many models are available pre-primed for easy decorating. Choose a style that suits the period of your home, from regency-inspired ornate mouldings to sleek minimalist shapes.
Top tip: Explore these ceiling ideas for our favourite ways to add extra design interest with paint.
Step 2. Prepare your walls
- Use a 100mm length of coving as a template to mark the top and bottom edges on the walls and ceiling of your room.
- Make the marks at regular intervals and join them together with a straight edge.
- Remove any loose wallpaper or flaky paint. Score between your drawn lines with a craft knife to give a key for the adhesive.
Step 3. Mitring corners
- Start on the longest wall and use a mitre block to cut the end of the first piece of coving at a 45-degree angle. Cut the coving with a fine-toothed saw and smooth rough edges with sandpaper. Using a mitre block to cut the coving for both internal and external corners will give you a perfect fit.
Step 4. Fixing in place
- With a filling knife, spread an even layer of coving adhesive over the back of the first piece of coving – i.e. the areas that will be in contact with the walls and ceiling.
- Hold the coving in place and line up the edges with the pencil guide lines on the wall and ceiling. Press gently along the whole length of the coving so the adhesive sticks evenly.
- To hold it firmly in place, support the bottom and top edges with a few galvanised nails. When the adhesive has dried, remove the nails and fill the holes.
- Use a damp paintbrush or sponge to remove any adhesive that oozes out from the top and bottom edges of the coving and to smooth the joint lines.
Step 5. Joining lengths
- Work around the room, butting the ends of the coving together where they join on straight sections of wall. You can use a little filler to smooth over the joins once you’ve finished.
Top tip: Fix very heavy plaster coving with brass screws at 1 metre intervals. Hold the pieces in position and drill carefully through the coving and into the wall. Add wall plugs, spread on the adhesive and screw into place. Use filler to conceal the screw heads.
FAQs
What is the difference between coving and cornice?
Both cornice and coving are ceiling mouldings that cover the gap between walls and the ceiling. Typically, cornices are more ornate, with intricate carvings, and are often found in period properties along with matching architrave.
What sizes do skirting boards and coving come in?
We know that homes come in all shapes and sizes, and so does our coving and skirting! With coving kits that vary from 2 to 24 metres in length, find the perfect fit for your home.
What are the different types of skirting boards?
Choose between pine, oak, MDF and more! Our collection includes simple shapes and more intricate carved options – there’s something for every interior style.
And that’s how to fit coving and skirting boards! We love hearing about your DIY projects, so make sure to share a photo of your renovation and any of your own ceiling coving ideas with us @Homebase_UK.


