
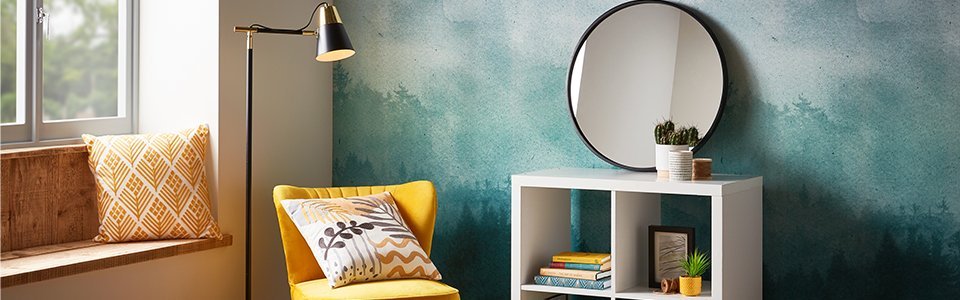

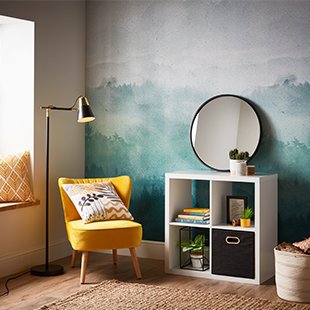
If you’re looking for the latest kitchen wallpaper ideas, or want to give your walls a new lease of life with some inspirational arthouse wallpaper, look no further.
From brick to textured wood, adding a brand-new style to your walls without the hassle of rebuilding or tiling them now has the perfect solution – mural wallpaper. Quick and easy to put up, you can give any room a whole new look in just a few hours – and we’re here to walk you through the whole process with our simple step-by-step guide.
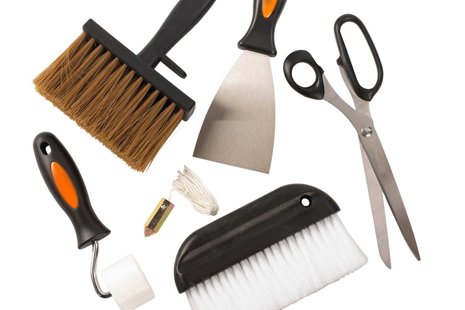
What you’ll need:
- Mural wallpaper
- Spirit level
- A pencil
- Tape measure
- Wallpaper adhesive (powder or pre-made)
- Paint brush/Paint roller
- Cloth
Step 1 – Prepare your wall
The last thing you want is for your finished mural to have lumps and bumps, so make sure it sticks well to the wall by cleaning the wall thoroughly before you start. Once you’ve stripped off any dust or grease, leave it to dry.
TOP TIP: If your wall has old paint or colour variations on it, giving it a fresh coat of paint or primer before you start can make all the difference.
Step 2 – Lay out your mural
Your mural wallpaper will usually come bundled together in one long roll. Unwrap the whole thing and cut out the panels as marked on the paper.
Step 3 – Mark out your space
Before your start hanging your mural wallpaper, it’s essential to work out exactly where you’re placing it. Using a tape measure, spirit level and a pencil, mark a straight line on the wall for the top of your first wallpaper sheet.
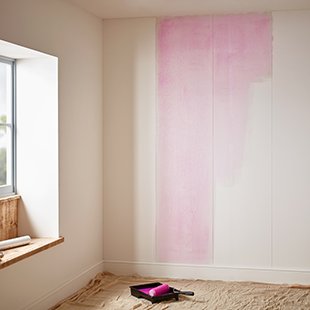
Step 4 – Prepare your adhesive
Whether you’re using a ready-made or powder mix, it’s time to get your adhesive ready. Using a paint brush or roller, apply the adhesive directly to the wall – ready for your first sheet.
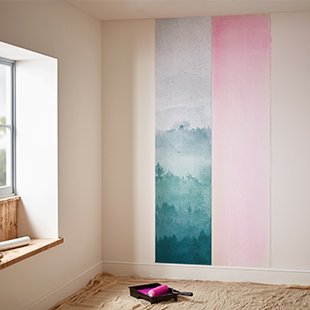
Step 5 – Hang your wallpaper
Using your line as a guide, match up your sheet so it’s level and stick it to your adhesive, smoothing down with a flat palm or a wallpaper smoother. Once it’s well stuck, trim off any excess wallpaper and wipe off any leftover adhesive residue with a damp cloth.
Step 6 – Rinse and repeat
That’s one strip done. Now all you need to do is repeat the process with the rest of your wallpaper, matching the pattern as marked on each piece to make sure your design looks right – until your wall is fully wallpapered.
Step 7 – Take a long look
Congratulations, the hard work’s over! Now, the only thing left to do is sit back and admire the luxurious lounge wallpaper on your beautiful mural wall while letting the adhesive fully dry.


