
1. Add a pop of colour to your ceramics
2018 is the year for colour blocking and combining matt and gloss finishes. To update your ceramics and try this trend, choose a spray paint in a bold colour. To update a jug follow these simple steps.
1. Carefully tape a plastic bag to it, leaving just the handle on show (tinfoil is also good for covering the areas you’re not painting).
2. Mask a line on the handle just before it meets the body of the jug.
3. Using a few light coats, build up the colour on the handle making sure the paint is evenly distributed.
4. When the paint is completely dry, carefully remove the masking tape and covering and proudly display your new, on-trend piece.
You can also try it on pot lids and mug handles.
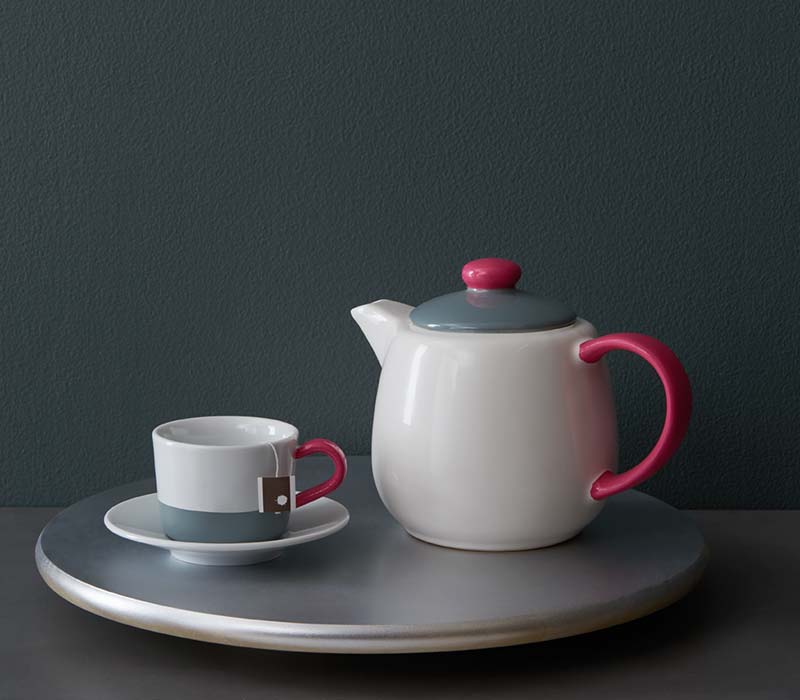
Products featured: Craig & Rose 1829 Chalky Emulsion Monogram, Rust-Oleum Spray Paint Winter Grey, Rust-Oleum Spray Paint Berry Pink and C&R Artisan Metallic Silver Effect Spray Paint
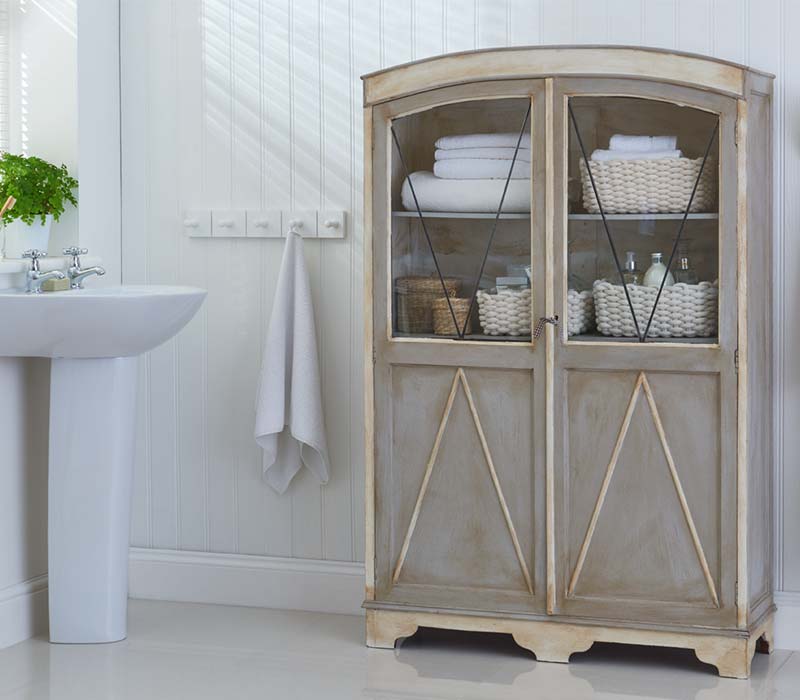
2. Repurpose a wardrobe for your bathroom
If you have space in the bathroom, a freestanding storage cupboard is a perfect way to store spare towels, linens and toiletries. Most cabinets specifically designed for bathrooms tend to be quite modern in appearance and don’t always suit a classic or vintage interior, but a re-purposed small wardrobe looks elegant and more appropriate.
1. Check the wardrobe or cupboard fits the available space and give it a good clean.
2. If it has a heavily lacquered finish, sand it to remove the lacquer, then water down a chalk furniture paint to achieve a lime-washed look. Always add a very small amount of water at a time, stirring well, until you’re happy with the consistency and finish.
3. Paint the cupboard in light coats and use a dry brush to smooth out the wash before it dries.
4. Once dry, finish with a furniture wax or lacquer sealant.
For a country-inspired look, consider swapping out the front panels with chicken wire attached to the rear of the doors and displaying pretty accessories and piles of fluffy towels behind.
3. Upcycle a piece of furniture
Sprucing up a plain piece of furniture is a great way to introduce colour to a room without committing to a whole room redecoration. This addition of colour is a useful tool used by designers to draw attention to the centre of the room for a balanced overall look. Choose either a faded colour for a Scandi-inspired look or a dark, saturated or fluorescent colour for real impact. A good starting point is an old chair.
1. Cover the areas of the chair to remain unpainted using newspaper or tin-foil and take care to create a straight line for painting to, using masking tape.
2. Build up light coats of paint using spray paint or chalk-paint, allowing drying time between each coat.

See our guide on how to upcycle a wooden chair.
4. Upgrade a plain pine chest to a smart, military look
Military styled furniture has a high-end look but unfortunately a high price tag to match. However, the look is easy to recreate using a plain, inexpensive pine chest of drawers.
1. Remove original handles and fill the holes with wood filler.
2. Remove the drawers and paint the entire unit with a couple of coats of furniture paint (dark colours work best for this styling).
3. When dry, finish with a matt or satin lacquer.
4. Screw brass angle brackets onto the corners of each drawer-front and two brass cup handles to each drawer.
Laminate drawers will also work successfully if they are sanded, primed and a specialist paint used.
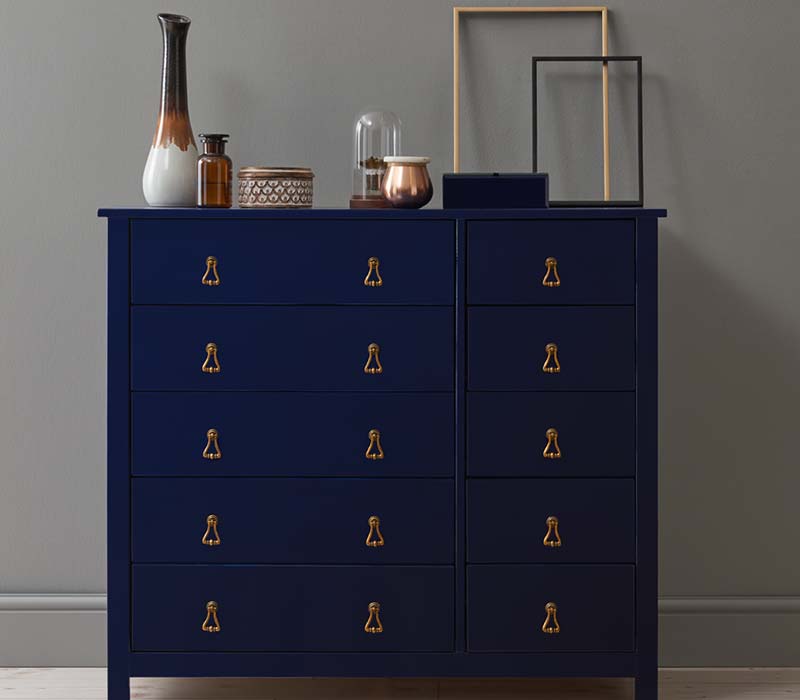
Products featured: Craig & Rose 1829 Chalky Emulsion Dundas, Rust-Oleum Navy Blue Spray and Drop Pull Handles.
5. Make a vertical herb garden and chalkboard
A herb garden in the kitchen is not only very useful, but looks great too. Using a wall for herbs frees space on work surfaces and is much more fun than a few pots on the windowsill.
1. Hang your chosen planters in the shape of a rectangular block.
2. Install lengths of timber batten to surround the planters to the same depth and paint to match the wall colour.
3. Create a frame using a rectangle cut from a sheet of thick board or MDF.
4. Cut a section out of the middle of the board using a jigsaw to the same size as the rectangle created by the timber battens. Alternatively, make a frame using a length of floorboard cut into four pieces and joined together.
6. Paint the frame with blackboard paint, allow to dry and screw them securely to the battens from the front.
7. Fill over the holes using wood filler and give the front another coat of paint.
8. Plant up with herbs and label with chalk.
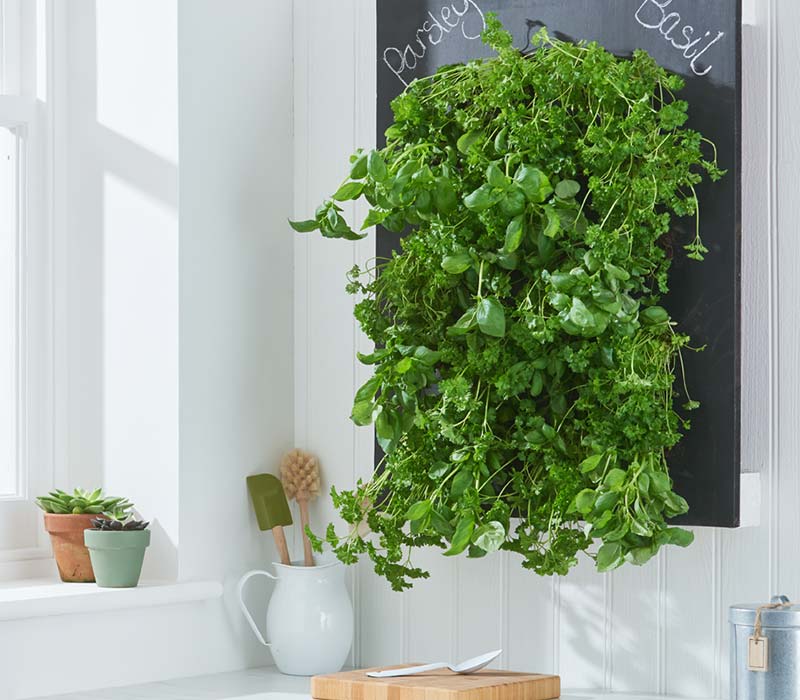
Products featured: Rust-Oleum Chalkboard Paint and Dulux Pure Brilliant White Matt Emulsion
6. Transform a shelf using marble vinyl
Marble has always been a go-to material in interior design to create a luxurious scheme. Digital printing technology now allows even the most budget-conscious to achieve the look of high-end materials throughout the home. Old shelves can be easily transformed with a little patience using sticky-backed vinyl in a marble print.
1. Use the shelf as a template to draw around and carefully cut the vinyl using sharp scissors ensuring no overlap.
2. Cover all sides finishing with the top of the shelf and use a sponge to remove any small air bubbles.
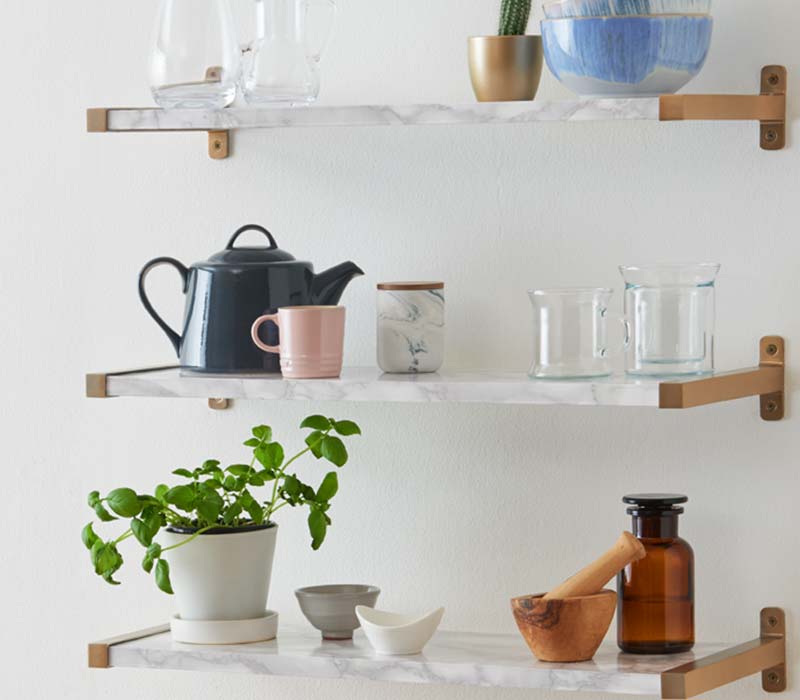
Products featured: Dulux Pure Brilliant White Matt Emulsion, Shelf board, Shelf End Brackets, Fablon Sticky Back Plastic – Marble Grey and Craig & Rose Artisan Gold Spray Paint
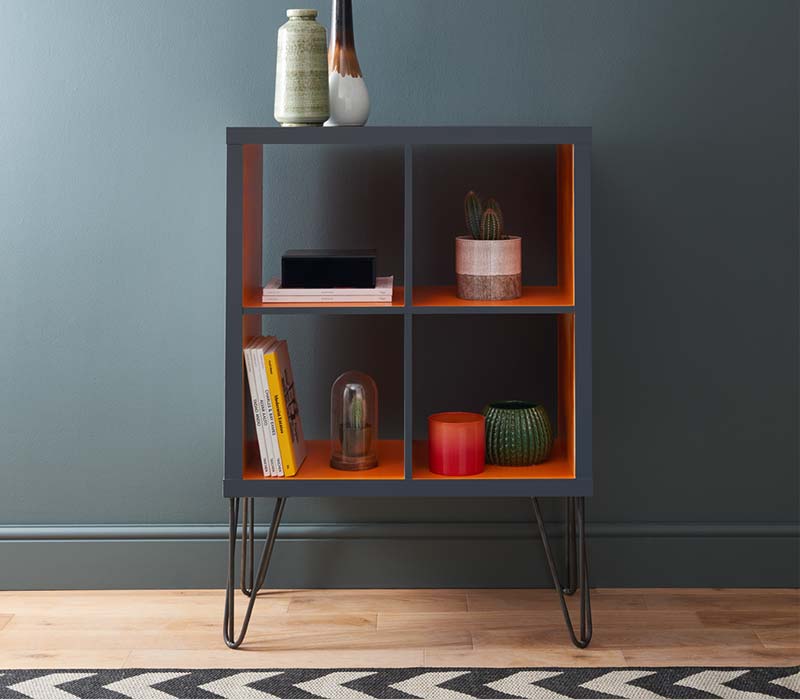
7. Add character to a cube storage unit
Cube storage units are incredibly versatile and can be updated to make many useful pieces of furniture around the home. Add a set of vintage furniture legs and drawer boxes or baskets to create a stylish and practical open cabinet, perfect for hallway storage or as an alternative bedside table.
1. Prime and repaint using suitable paint for laminate and consider a contrast colour or two to add personality.
2. For a hardwearing surface suitable for children’s rooms, use colourful sticky-backed vinyl to finish the inside the cubes.
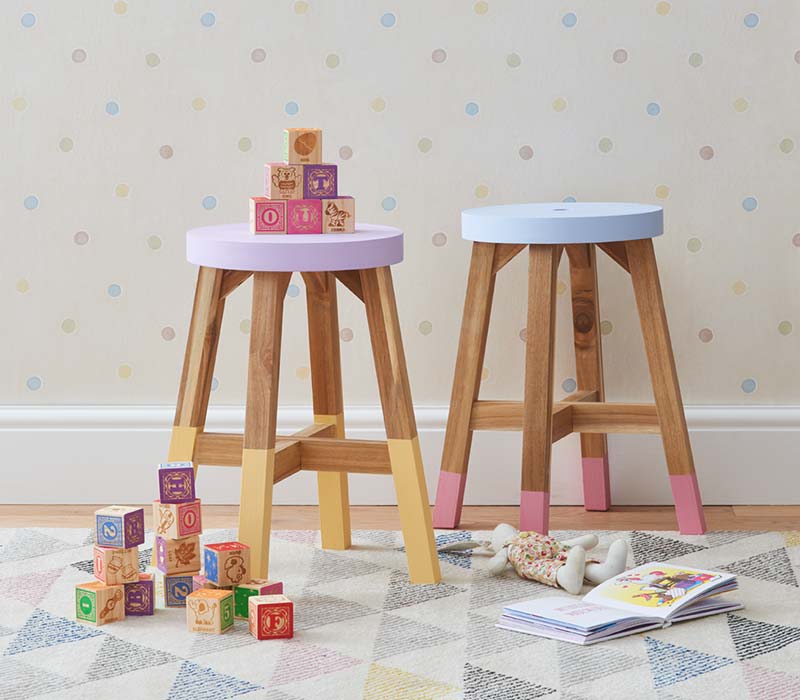
8. Personalise an old stool
Old wooden stools can be picked up for a few pounds at second-hand shops and on local online sites but with a quick refresh can become a great addition to the home injecting both colour and personality. Choose two or three colours to complement the room scheme and choose the one you like best for the seat. Most surfaces won’t need to be sanded unless heavily lacquered in which case a light sanding will help the paint to bond to the stool.
1. Give the stool a good wipe down and spray the stool with the first colour.
2. Use several light coats to build up an even coverage, allowing drying time between each.
3. For each new colour, use masking tape to produce a neat line to spray up to and cover the areas not being painted with newspaper or tin-foil.
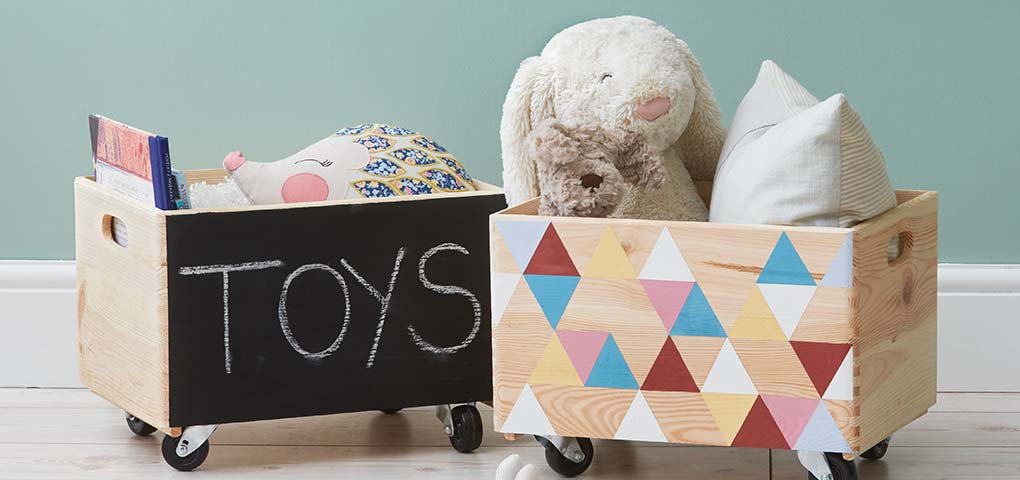
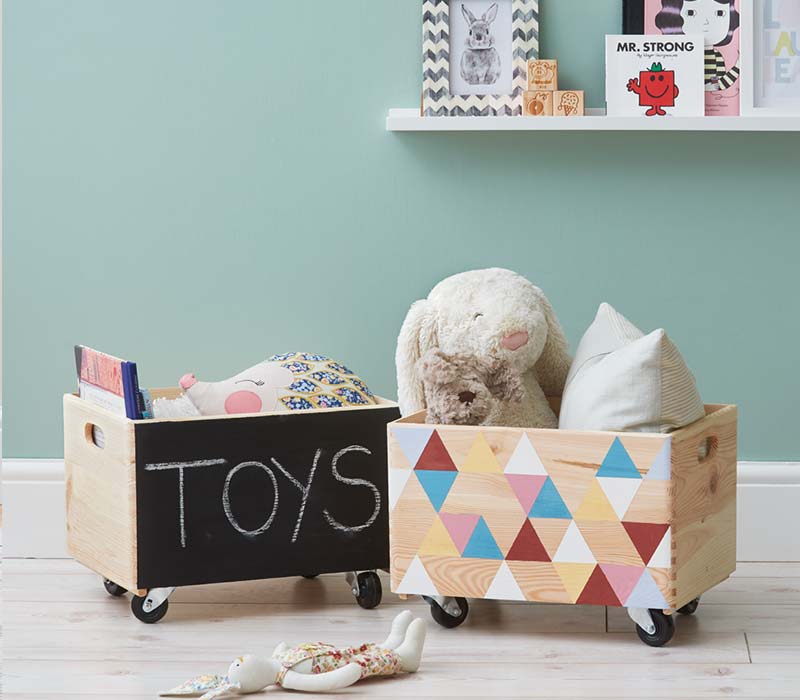
9. Turn a wooden crate into rolling storage trucks for kids
Wooden crates are a cheap and sturdy solution for storing bulky toys and books. Turn them into fun and portable storage with a lick of paint and a set of buggy or wheelbarrow wheels. If you’d like to be able to roll the crates along the floor, use metal threaded rods the same diameter as the wheels to allow them to turn freely.
1. Where the wheels will be positioned, drill holes into the sides of the crates just a few millimetres larger than the diameter of the threaded rod.
2. Drill two holes at each end of the crate for the rope handles.
3. Paint the outside of the crate using chalk paint and allow to dry.
4. Feed the rope through the holes at the ends of the crates and knot securely on the inside to keep the handle in place.
5. Cut the threaded metal rod to length, allowing for the width of the crate and thickness of the wheels, and sand any rough edges at the ends.
6. Feed the rod through the holes and wheels and secure with washers on the outside of the crate. Fix on the wheels and secure in place with washers.
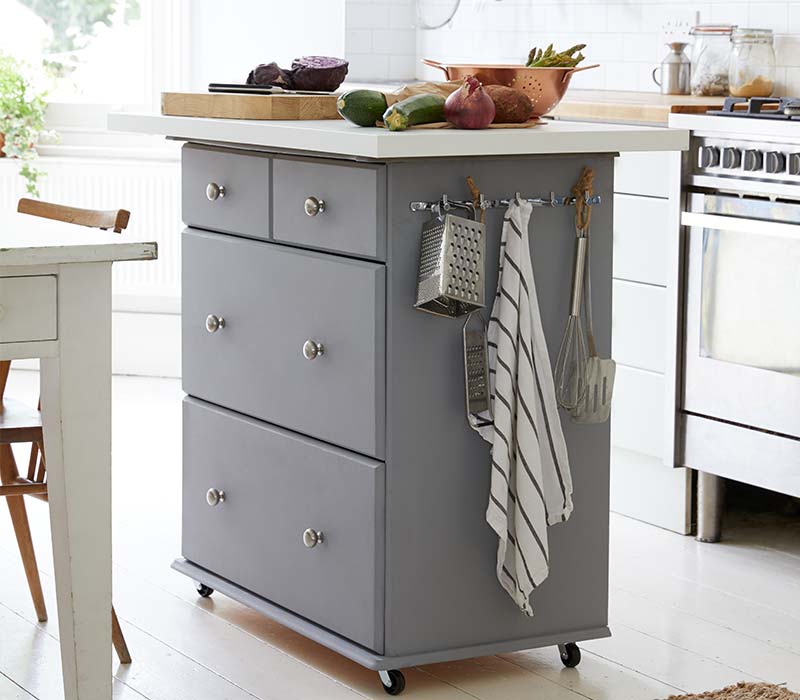
10. Transform a kitchen cupboard into a mobile island
Work surface space and storage is often at a premium in the kitchen. This is a genius solution for a making an inexpensive, mobile island that can be rolled out of the way when you’re not using it . T
1. Take a double base cabinet with drawers and attach a decor panel to the back.
2. Paint the cabinet in your favourite shade using an appropriate paint and replace the handles.
3. Choose sturdy castors and install one to each corner at the base of the cabinet.
4. Make sure at least two of the castors have brakes to prevent the island moving around on its own while you’re preparing food on it.
5. Fit a piece of worktop either to the size of the island or overhanging on one or two sides for additional surface area.
6. Retain at least a metre of space around the island when it’s in position.
7. To complete the project, install hooks at one end to hold tea-towels or utensils.